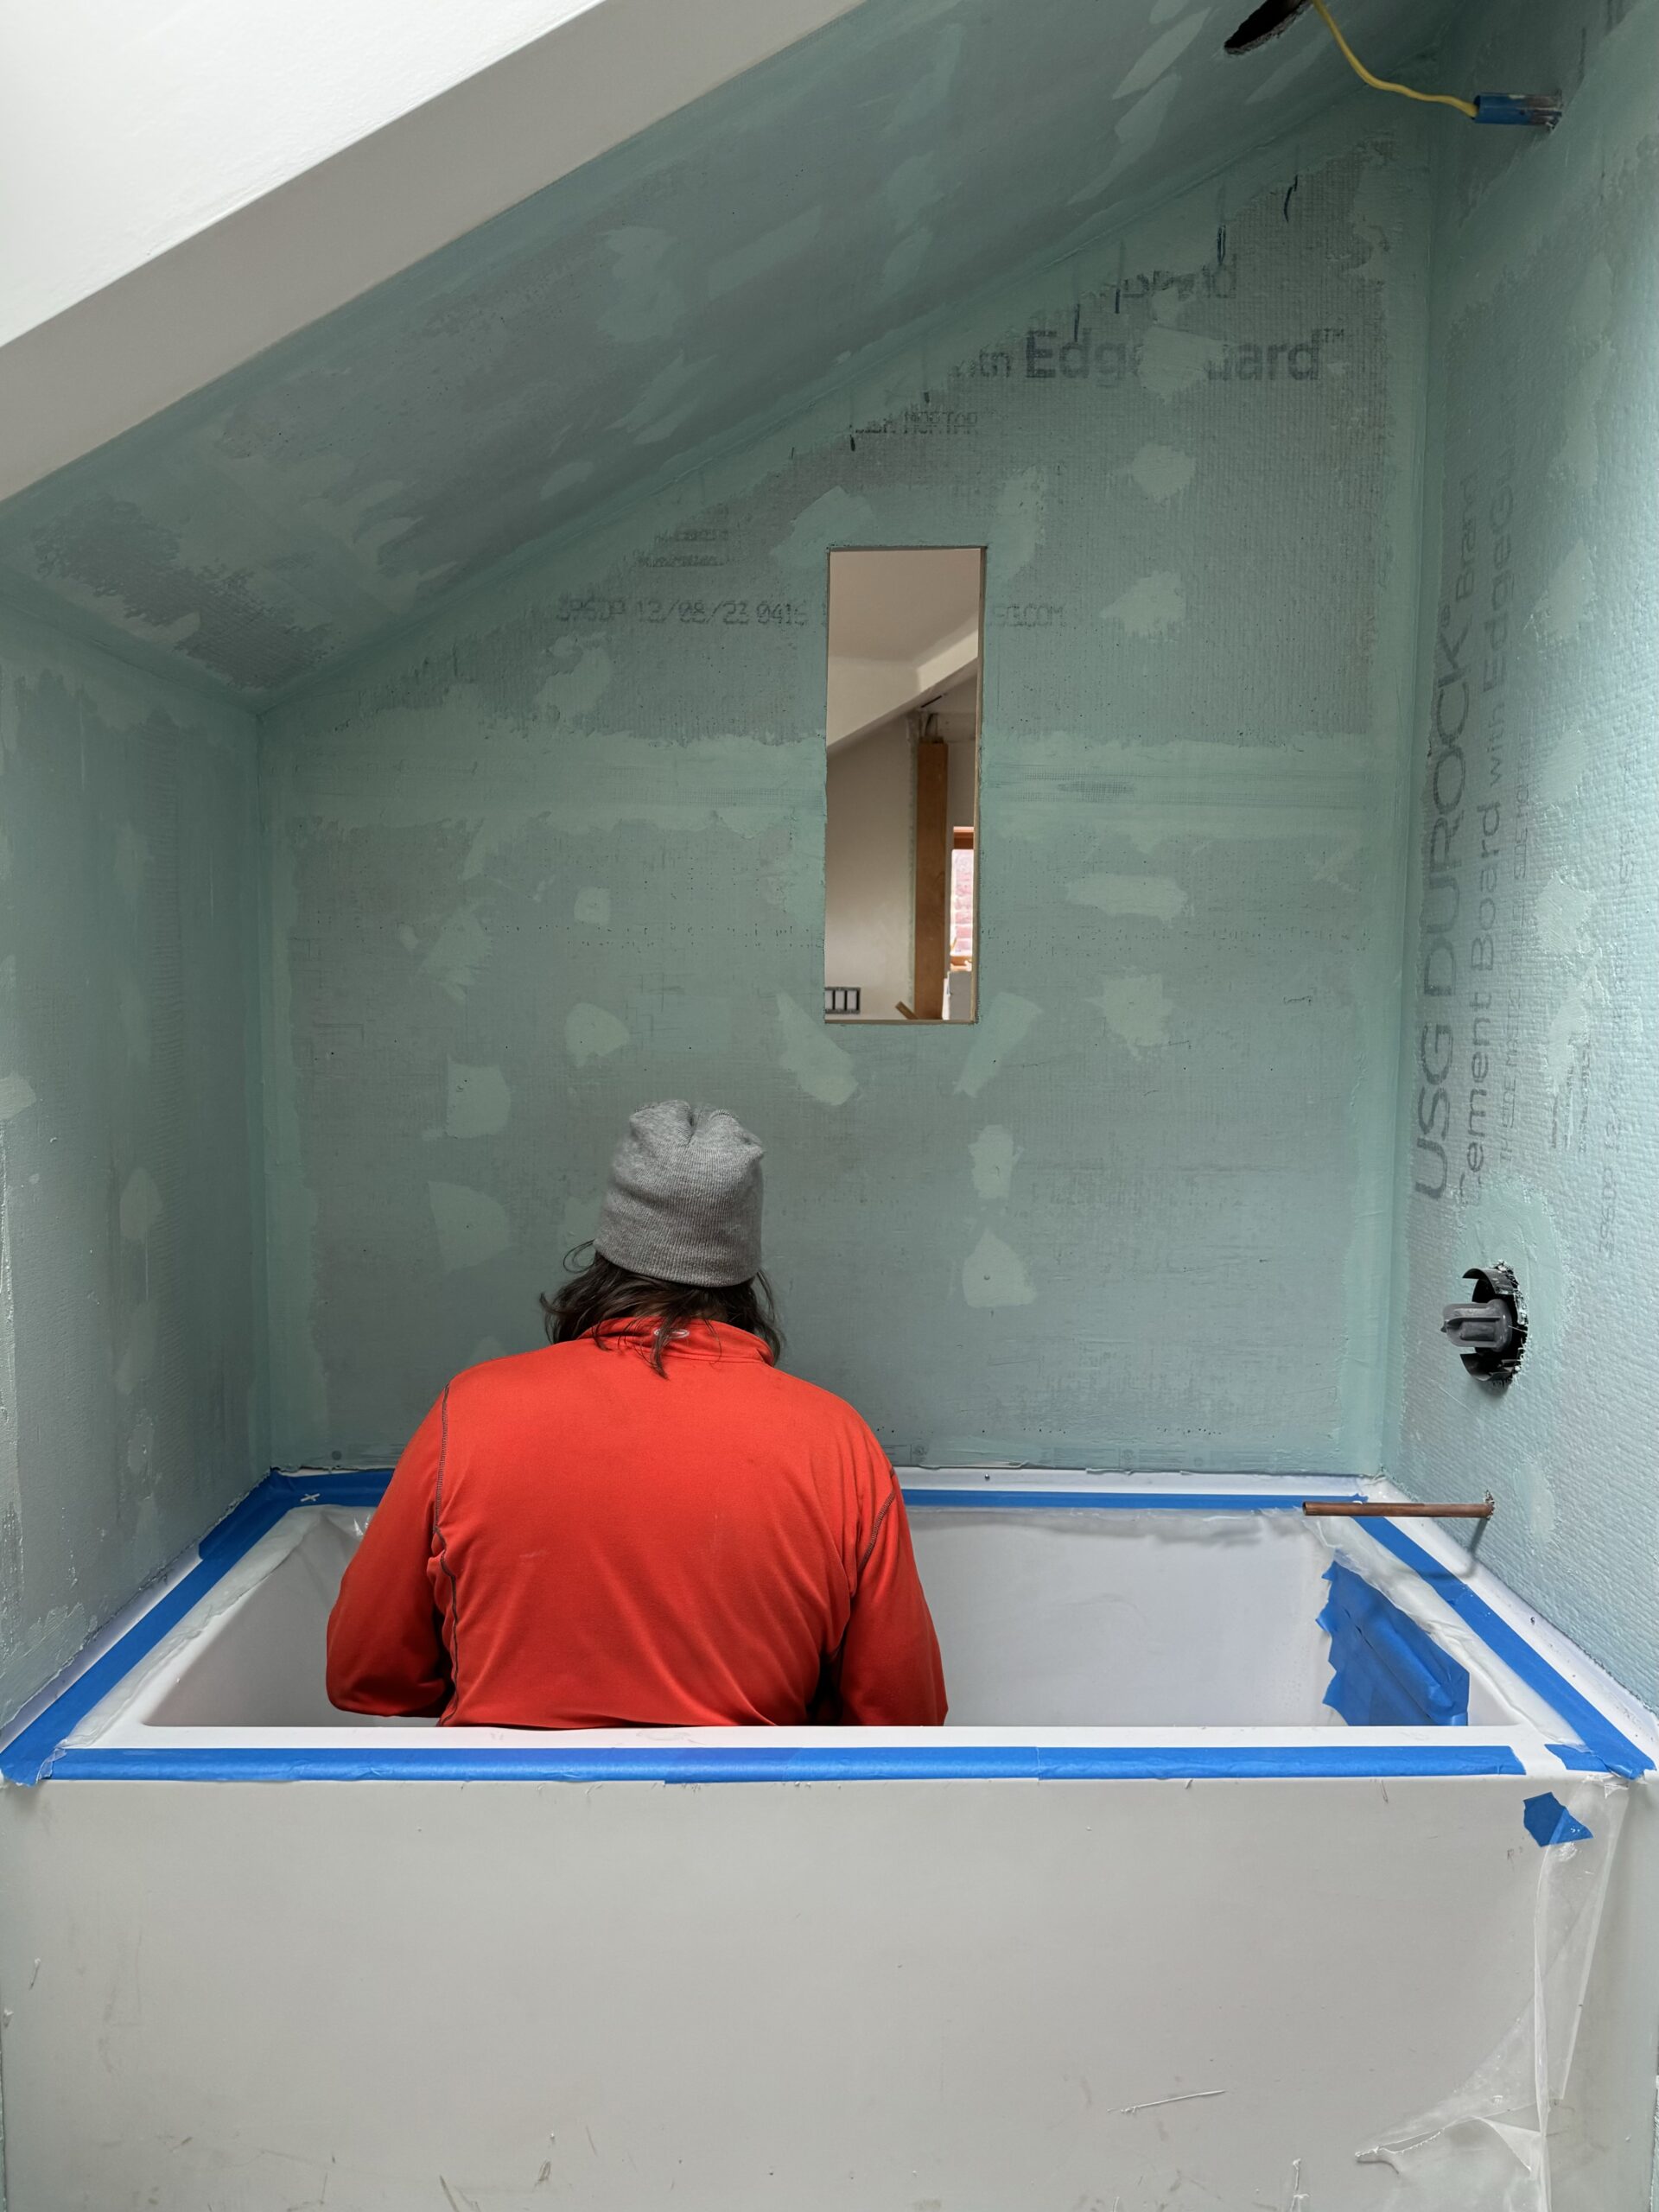
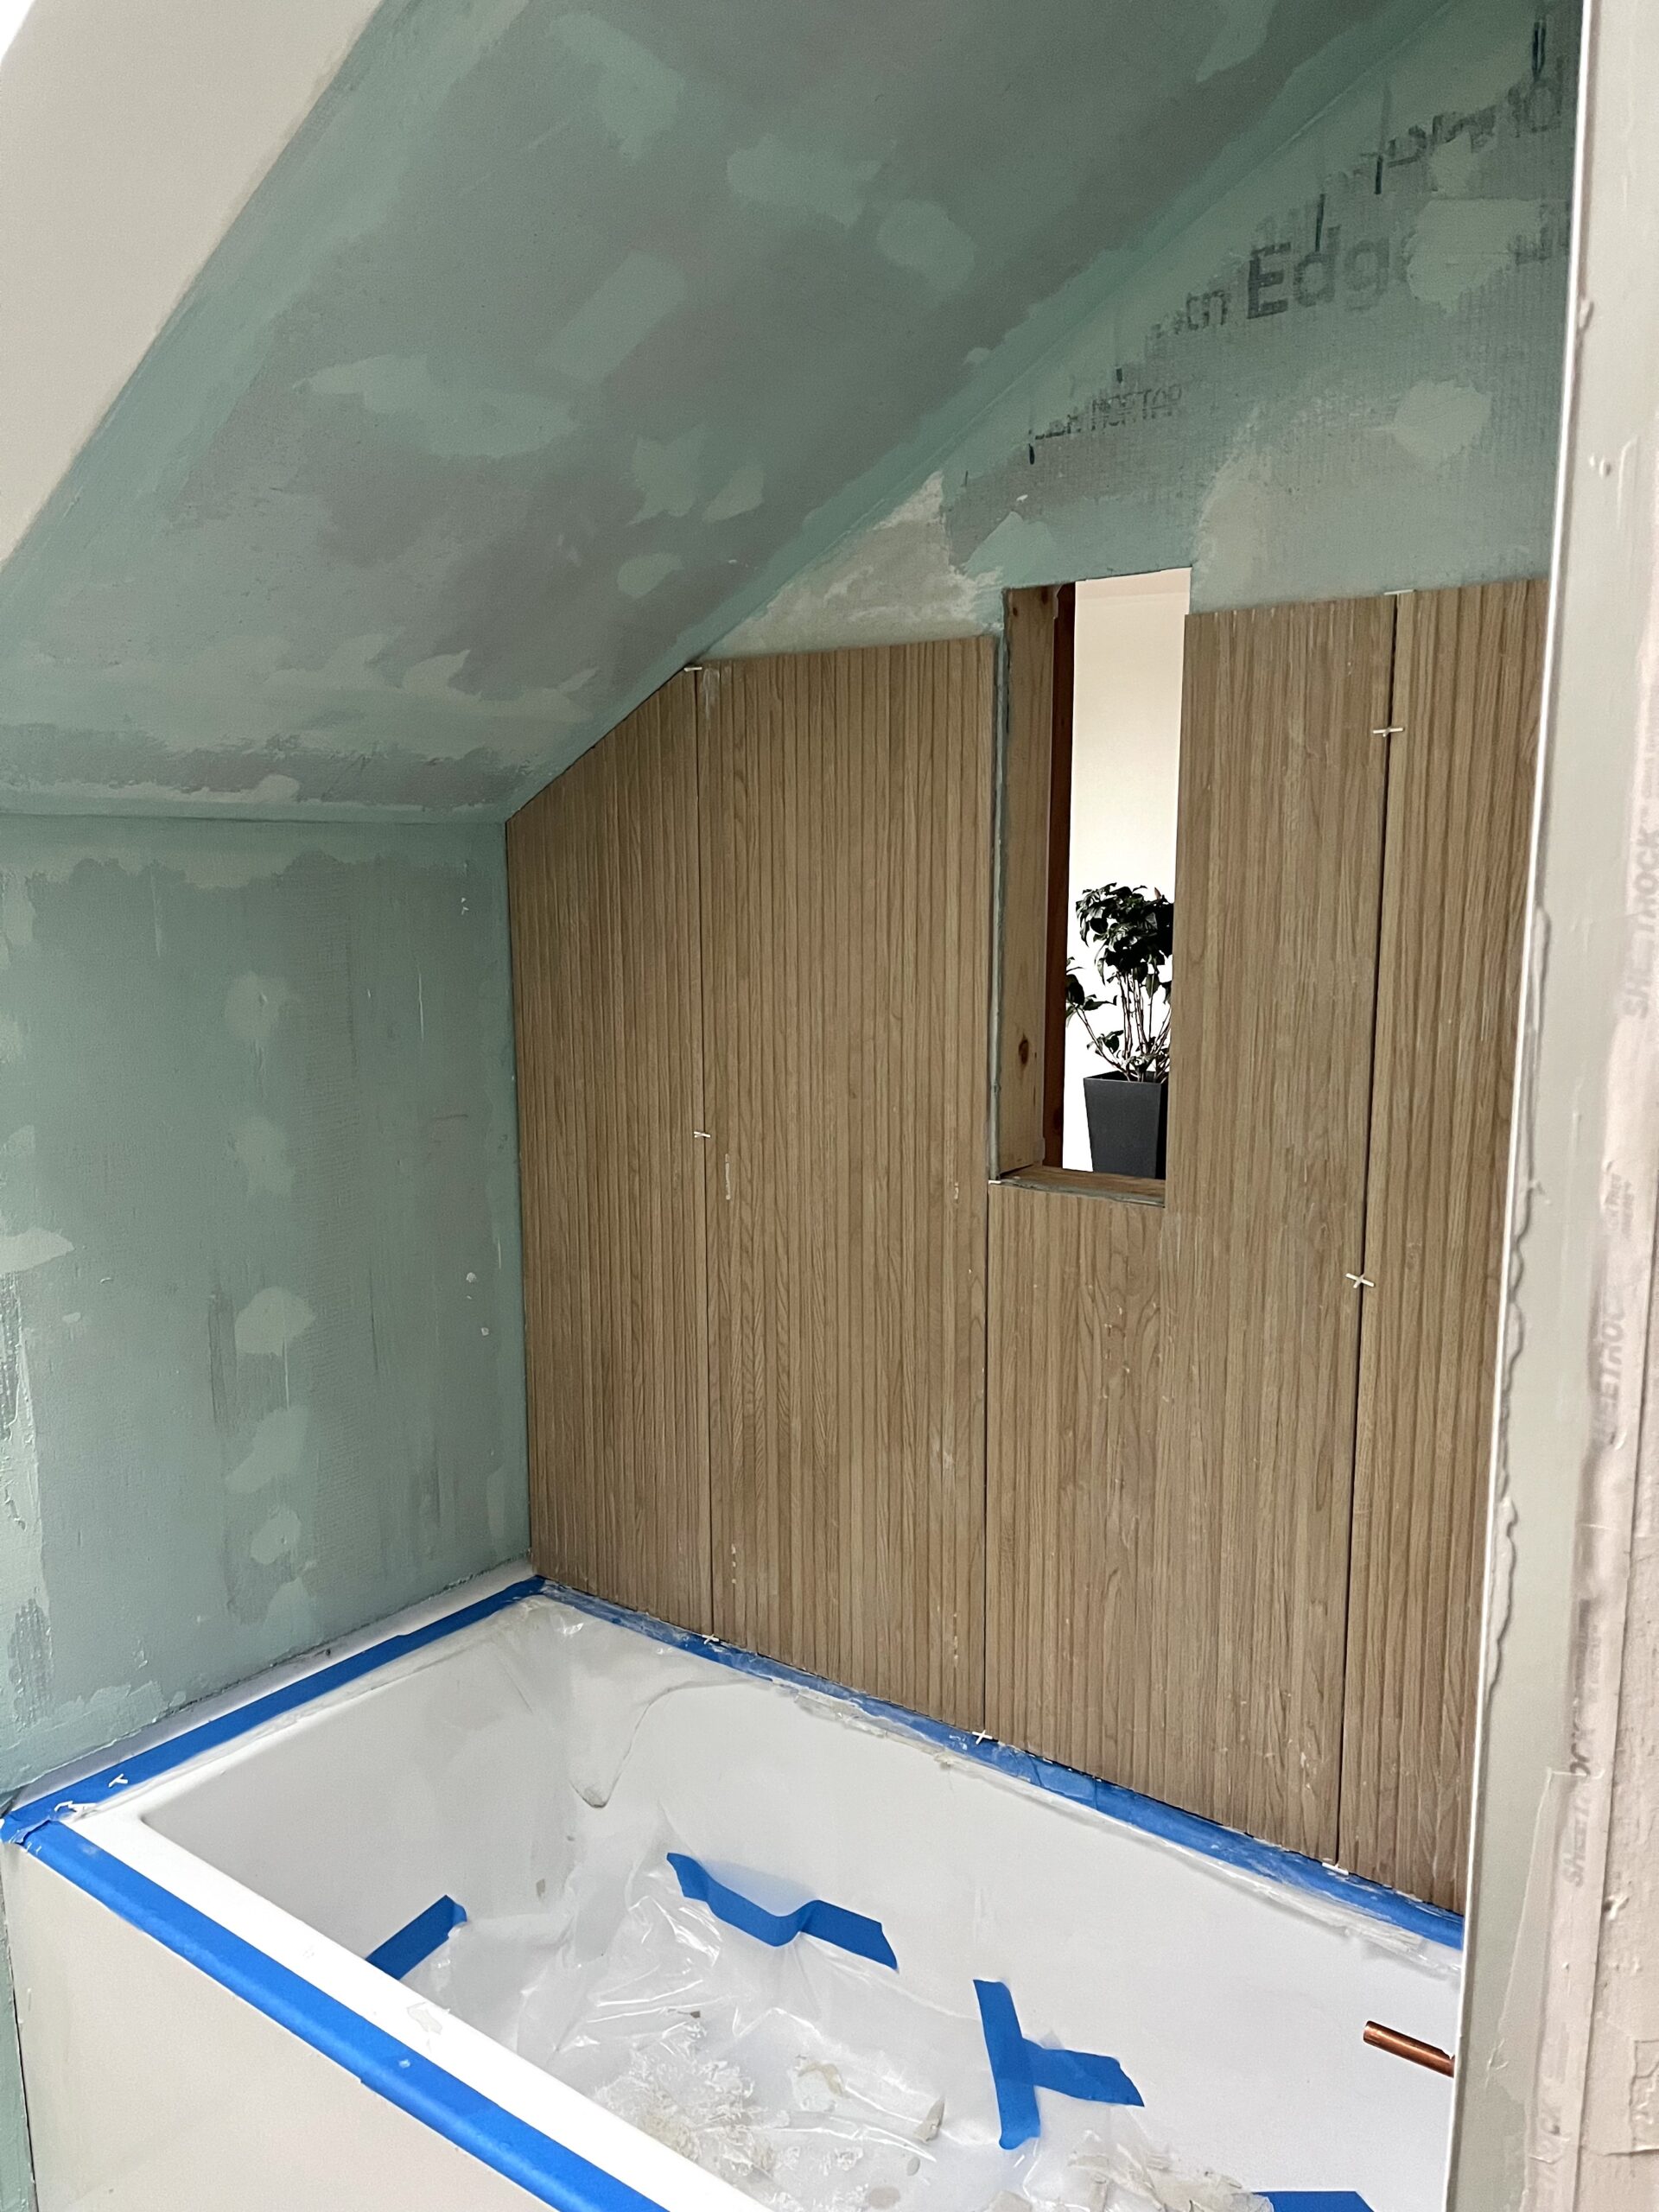
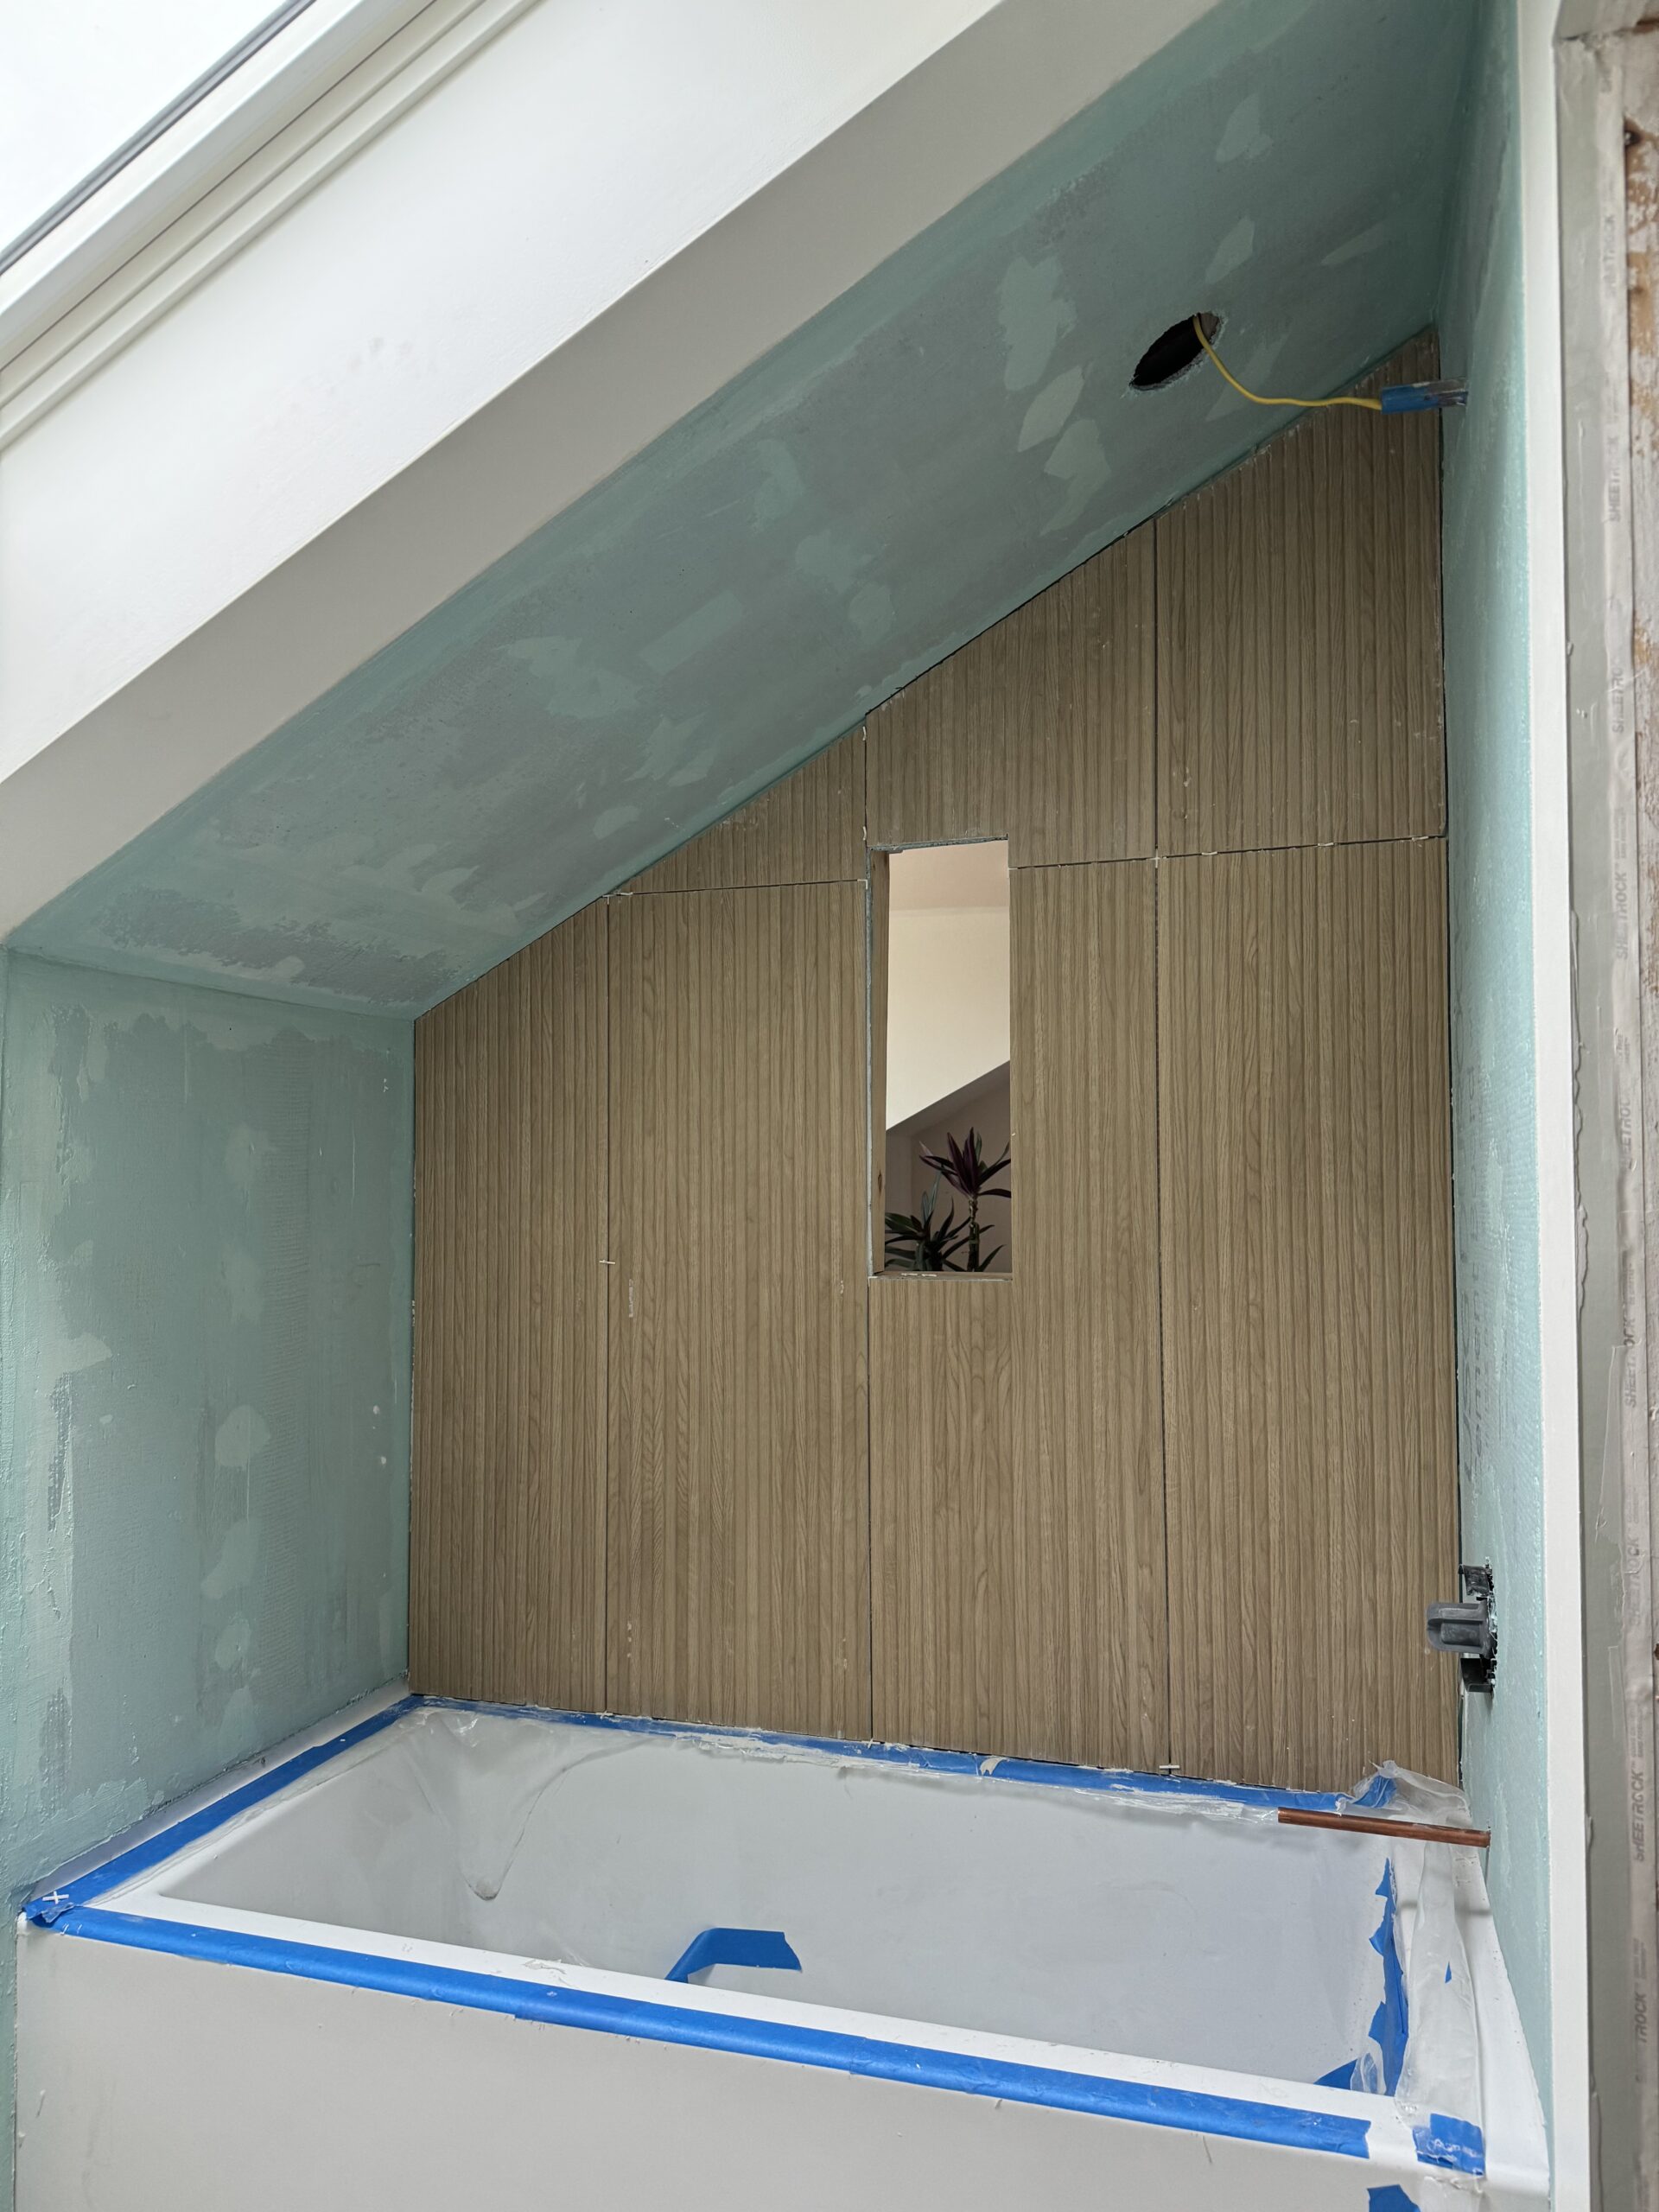
We are over halfway through this One Room Challenge now, and I’m feeling more behind than ever! I’m thrilled to report that there is tile on the walls now! Maybe not the sloped ceiling above the tub yet (we hit some snags), but it is next up.
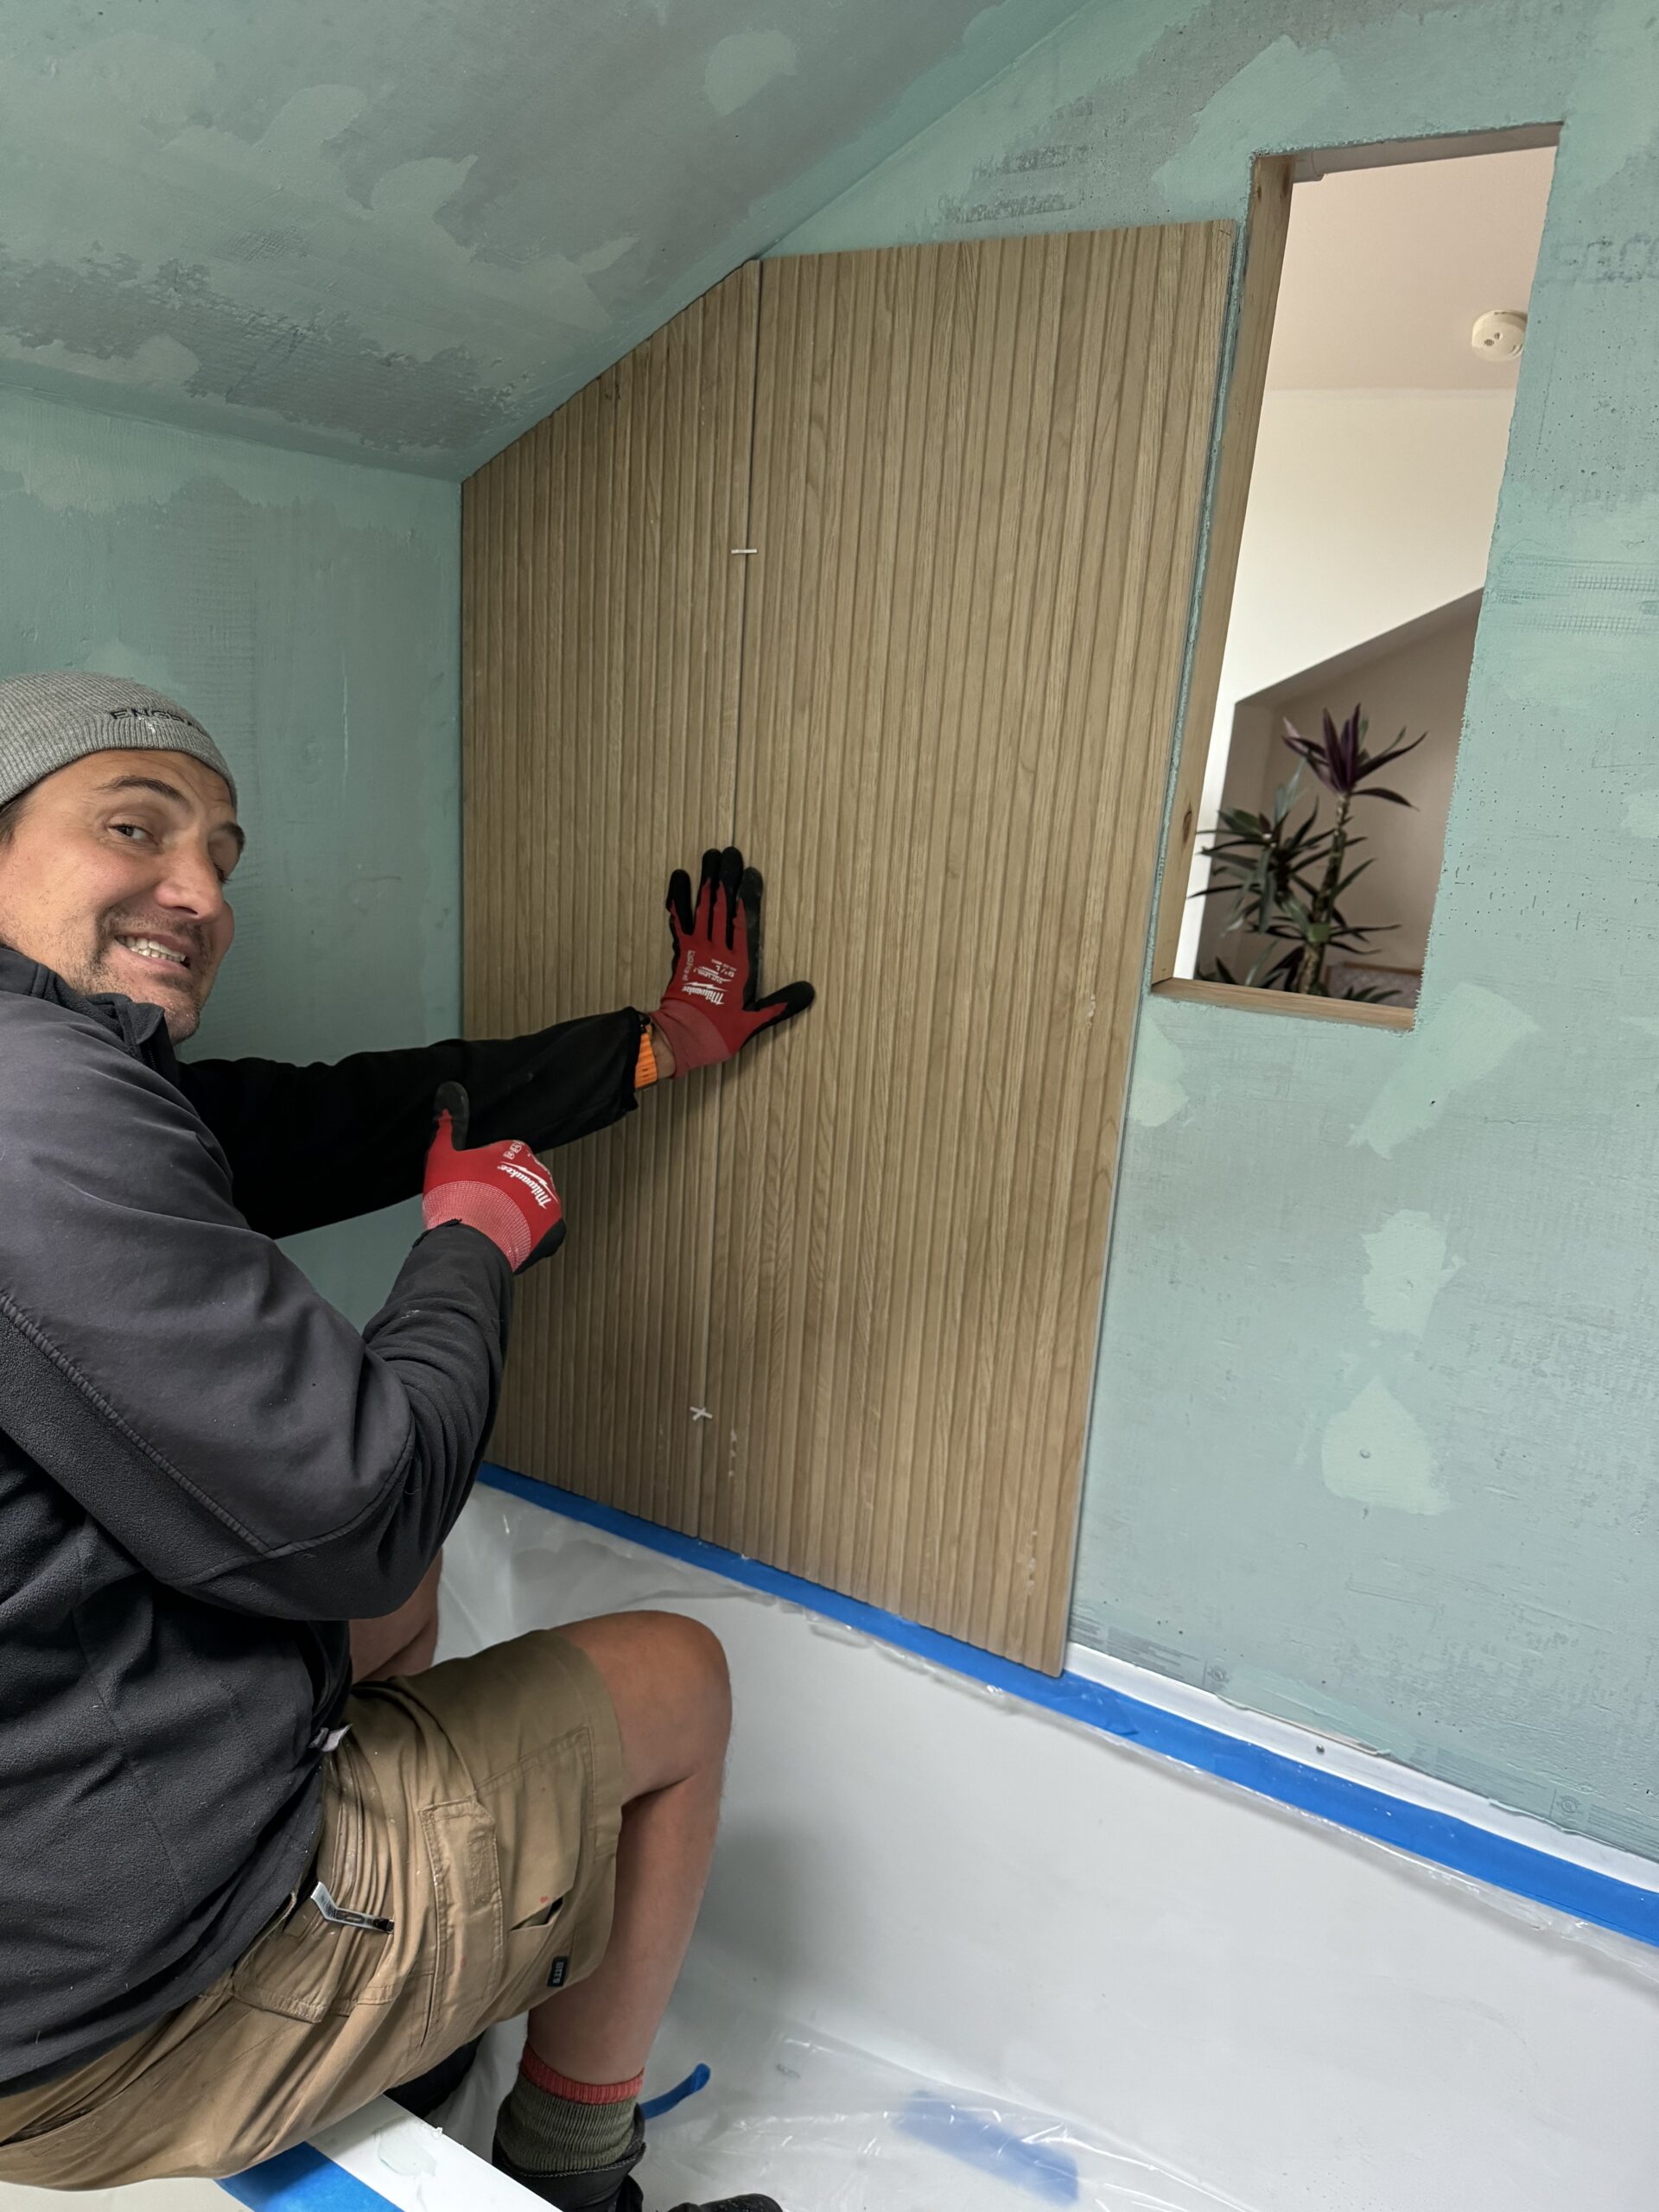
When you have big projects to do, you grab your biz buddy and BFF to help with precision, problem solving, and sanity! This is Marc, aka Finn, the other half of Orange Pop Design.
I looked at numerous versions of this style of tile, and landed on this one from Floor and Decor, called Ribbon Oak Wall ceramic tile. These tiles are 16×48″. They are BIG. The largest tiles I have ever tried tackling. But the fluted design ran vertically which I wanted, and two side by side equalled the exact depth out from the tub to go on the side walls, and the angled ceiling. This was a big plus, hoping to not have to cut many of them the long way. Also, I’m not gonna lie, the price was pretty great!
We started tiling the back wall with the intention of covering up any mis-cuts that might occur with the factory edge of the tiles going on the ceiling. Finn and I planned out the bottom row across then decided to stick them on the wall. Due to the tile size, it was suggested that we use Mapei Ultraflex LFT tile mortar because of its non-sag formula. With both of us having middle aged eyeballs, we read the instructions wrong on the bag (why do they make the font size so small?!) and put in WAY too much water to mortar. And we were basically at the end of the daylight hours. So thinking extremely positive, we put plastic in the bucket and put the lid on real tight and hoped we could use some of it the next morning. This is what we ended up with… THE FAIL PAIL!
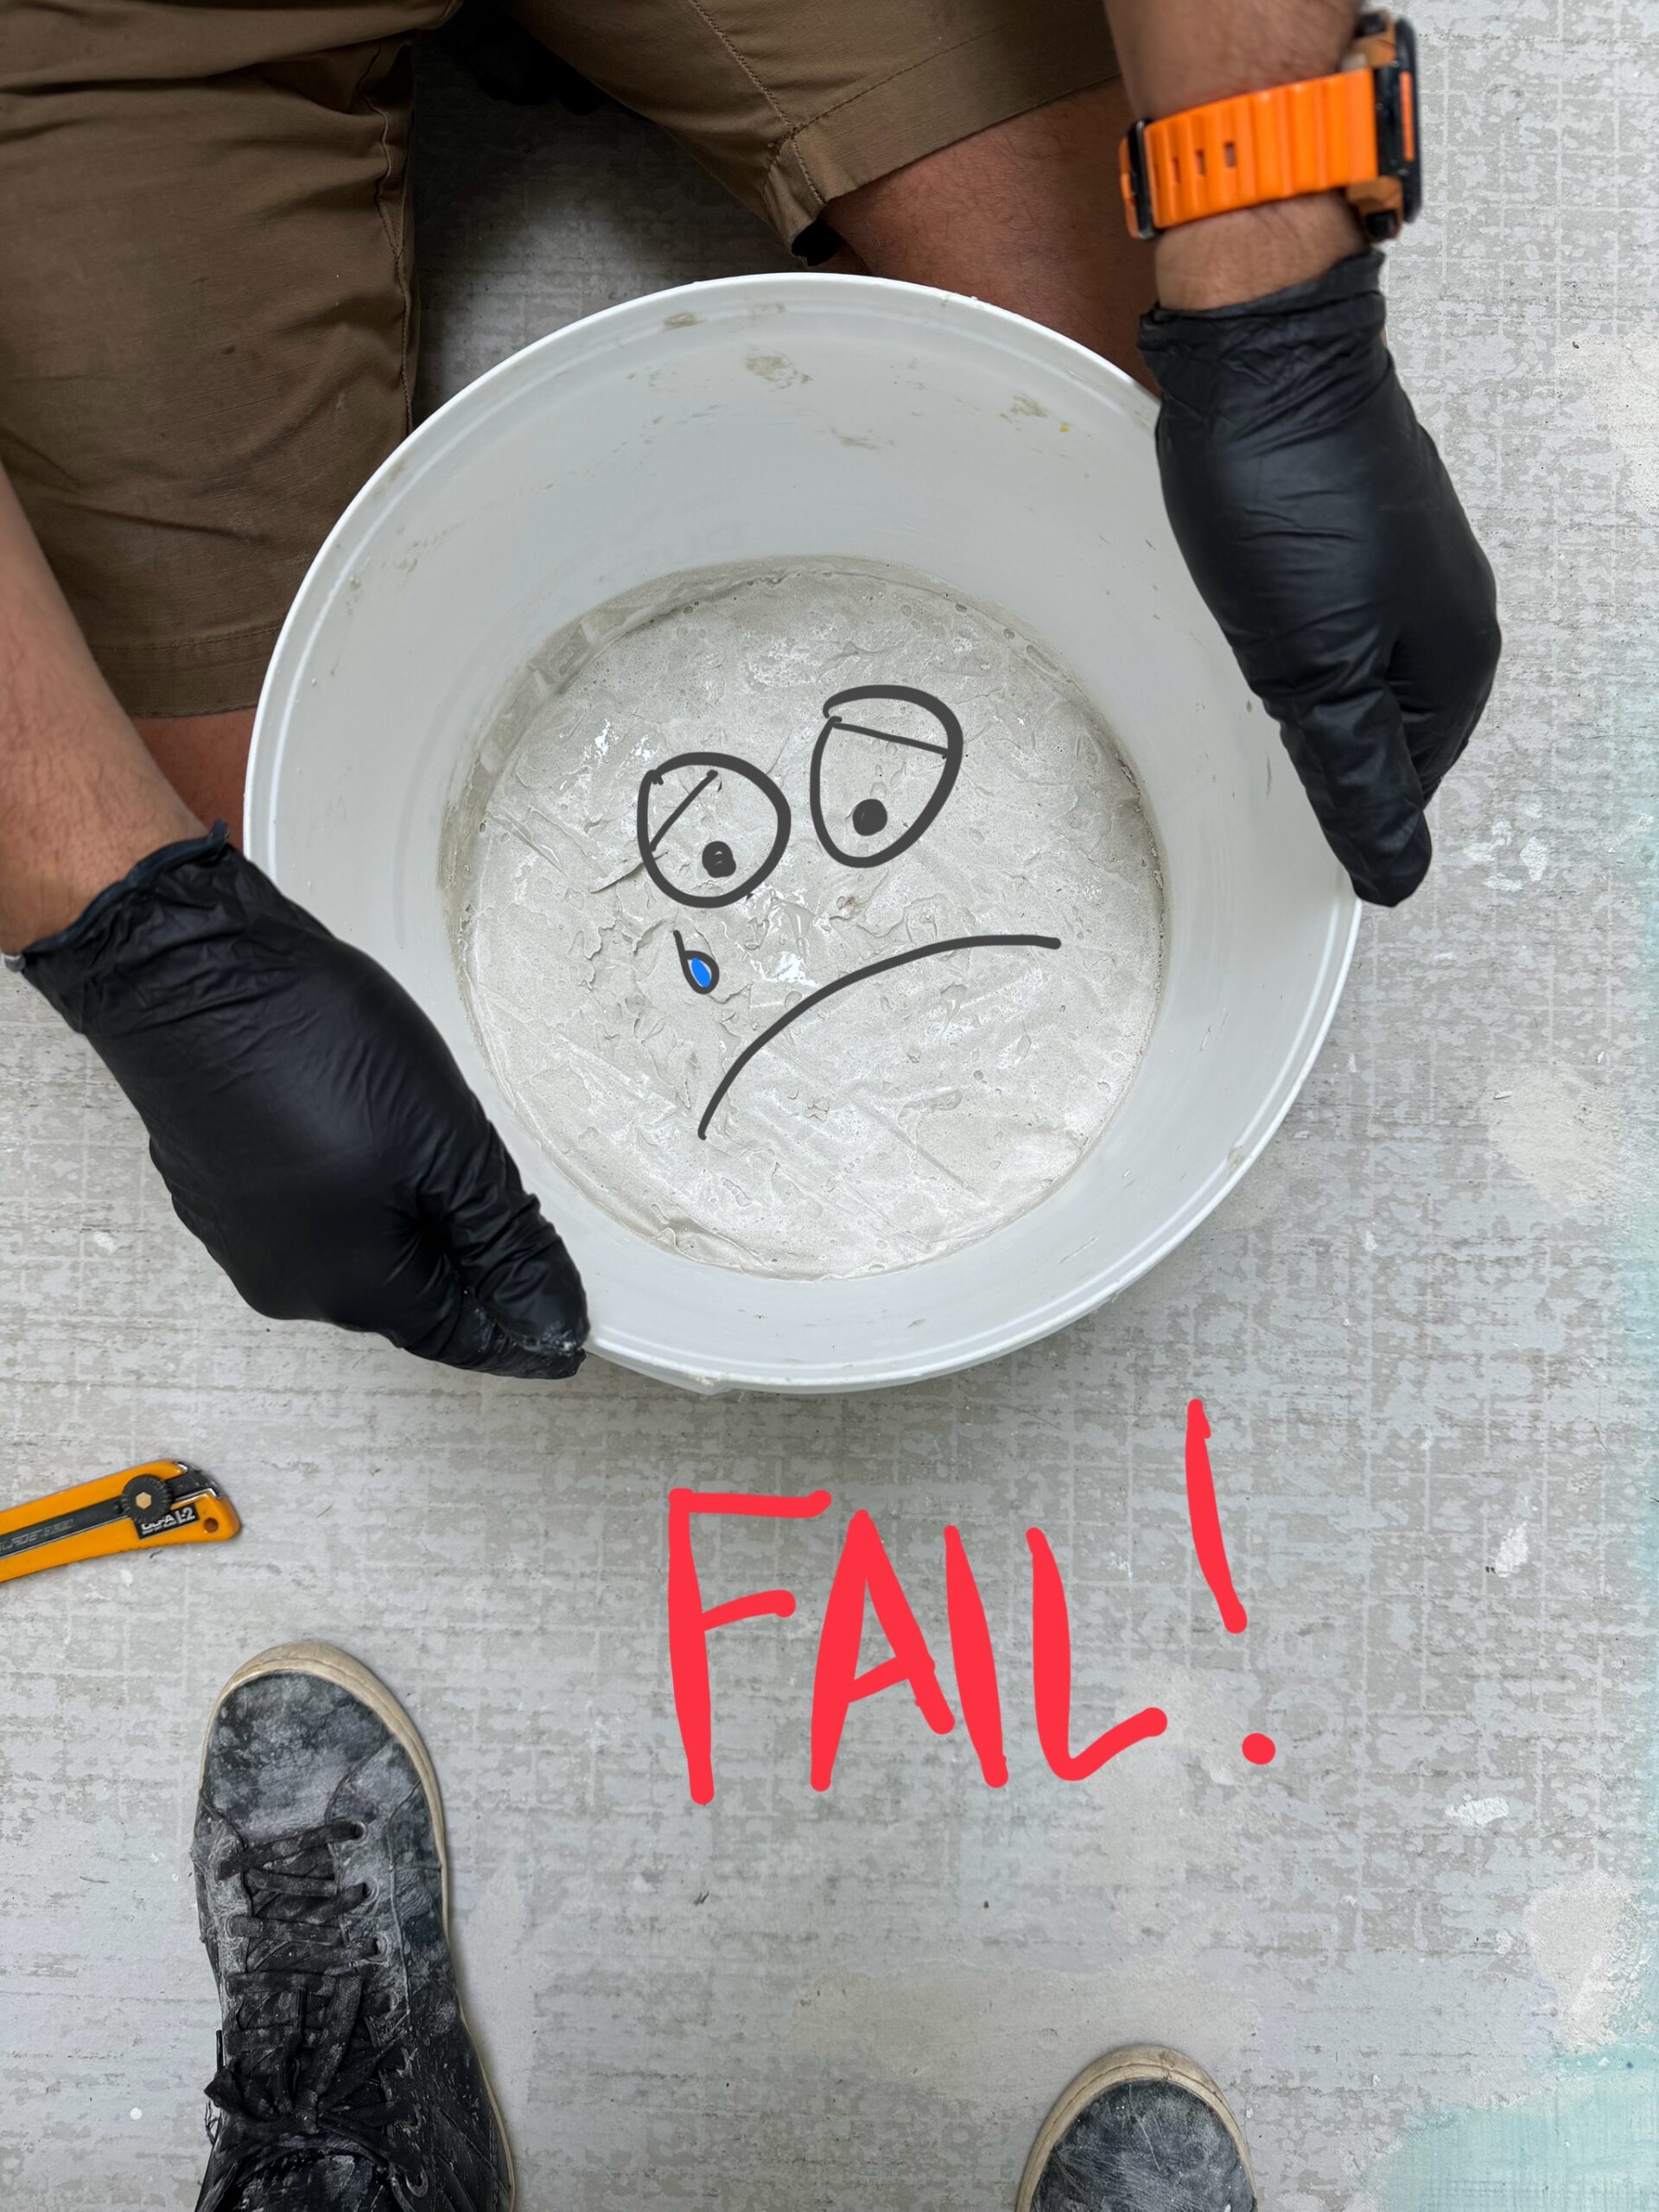
The chances were very slim, so we laughed it off and got back to work.
We got some quick wins in here and there, and cut some successful holes to go around the plumbing fixtures. We were feeling pretty great about our progress!
I wanted a small black trim edge, and decided on the Schluter edging in a matte black as the finish piece. It was EXACTLY the right choice for the vibe, clean and minimal. Basically a finished outline.
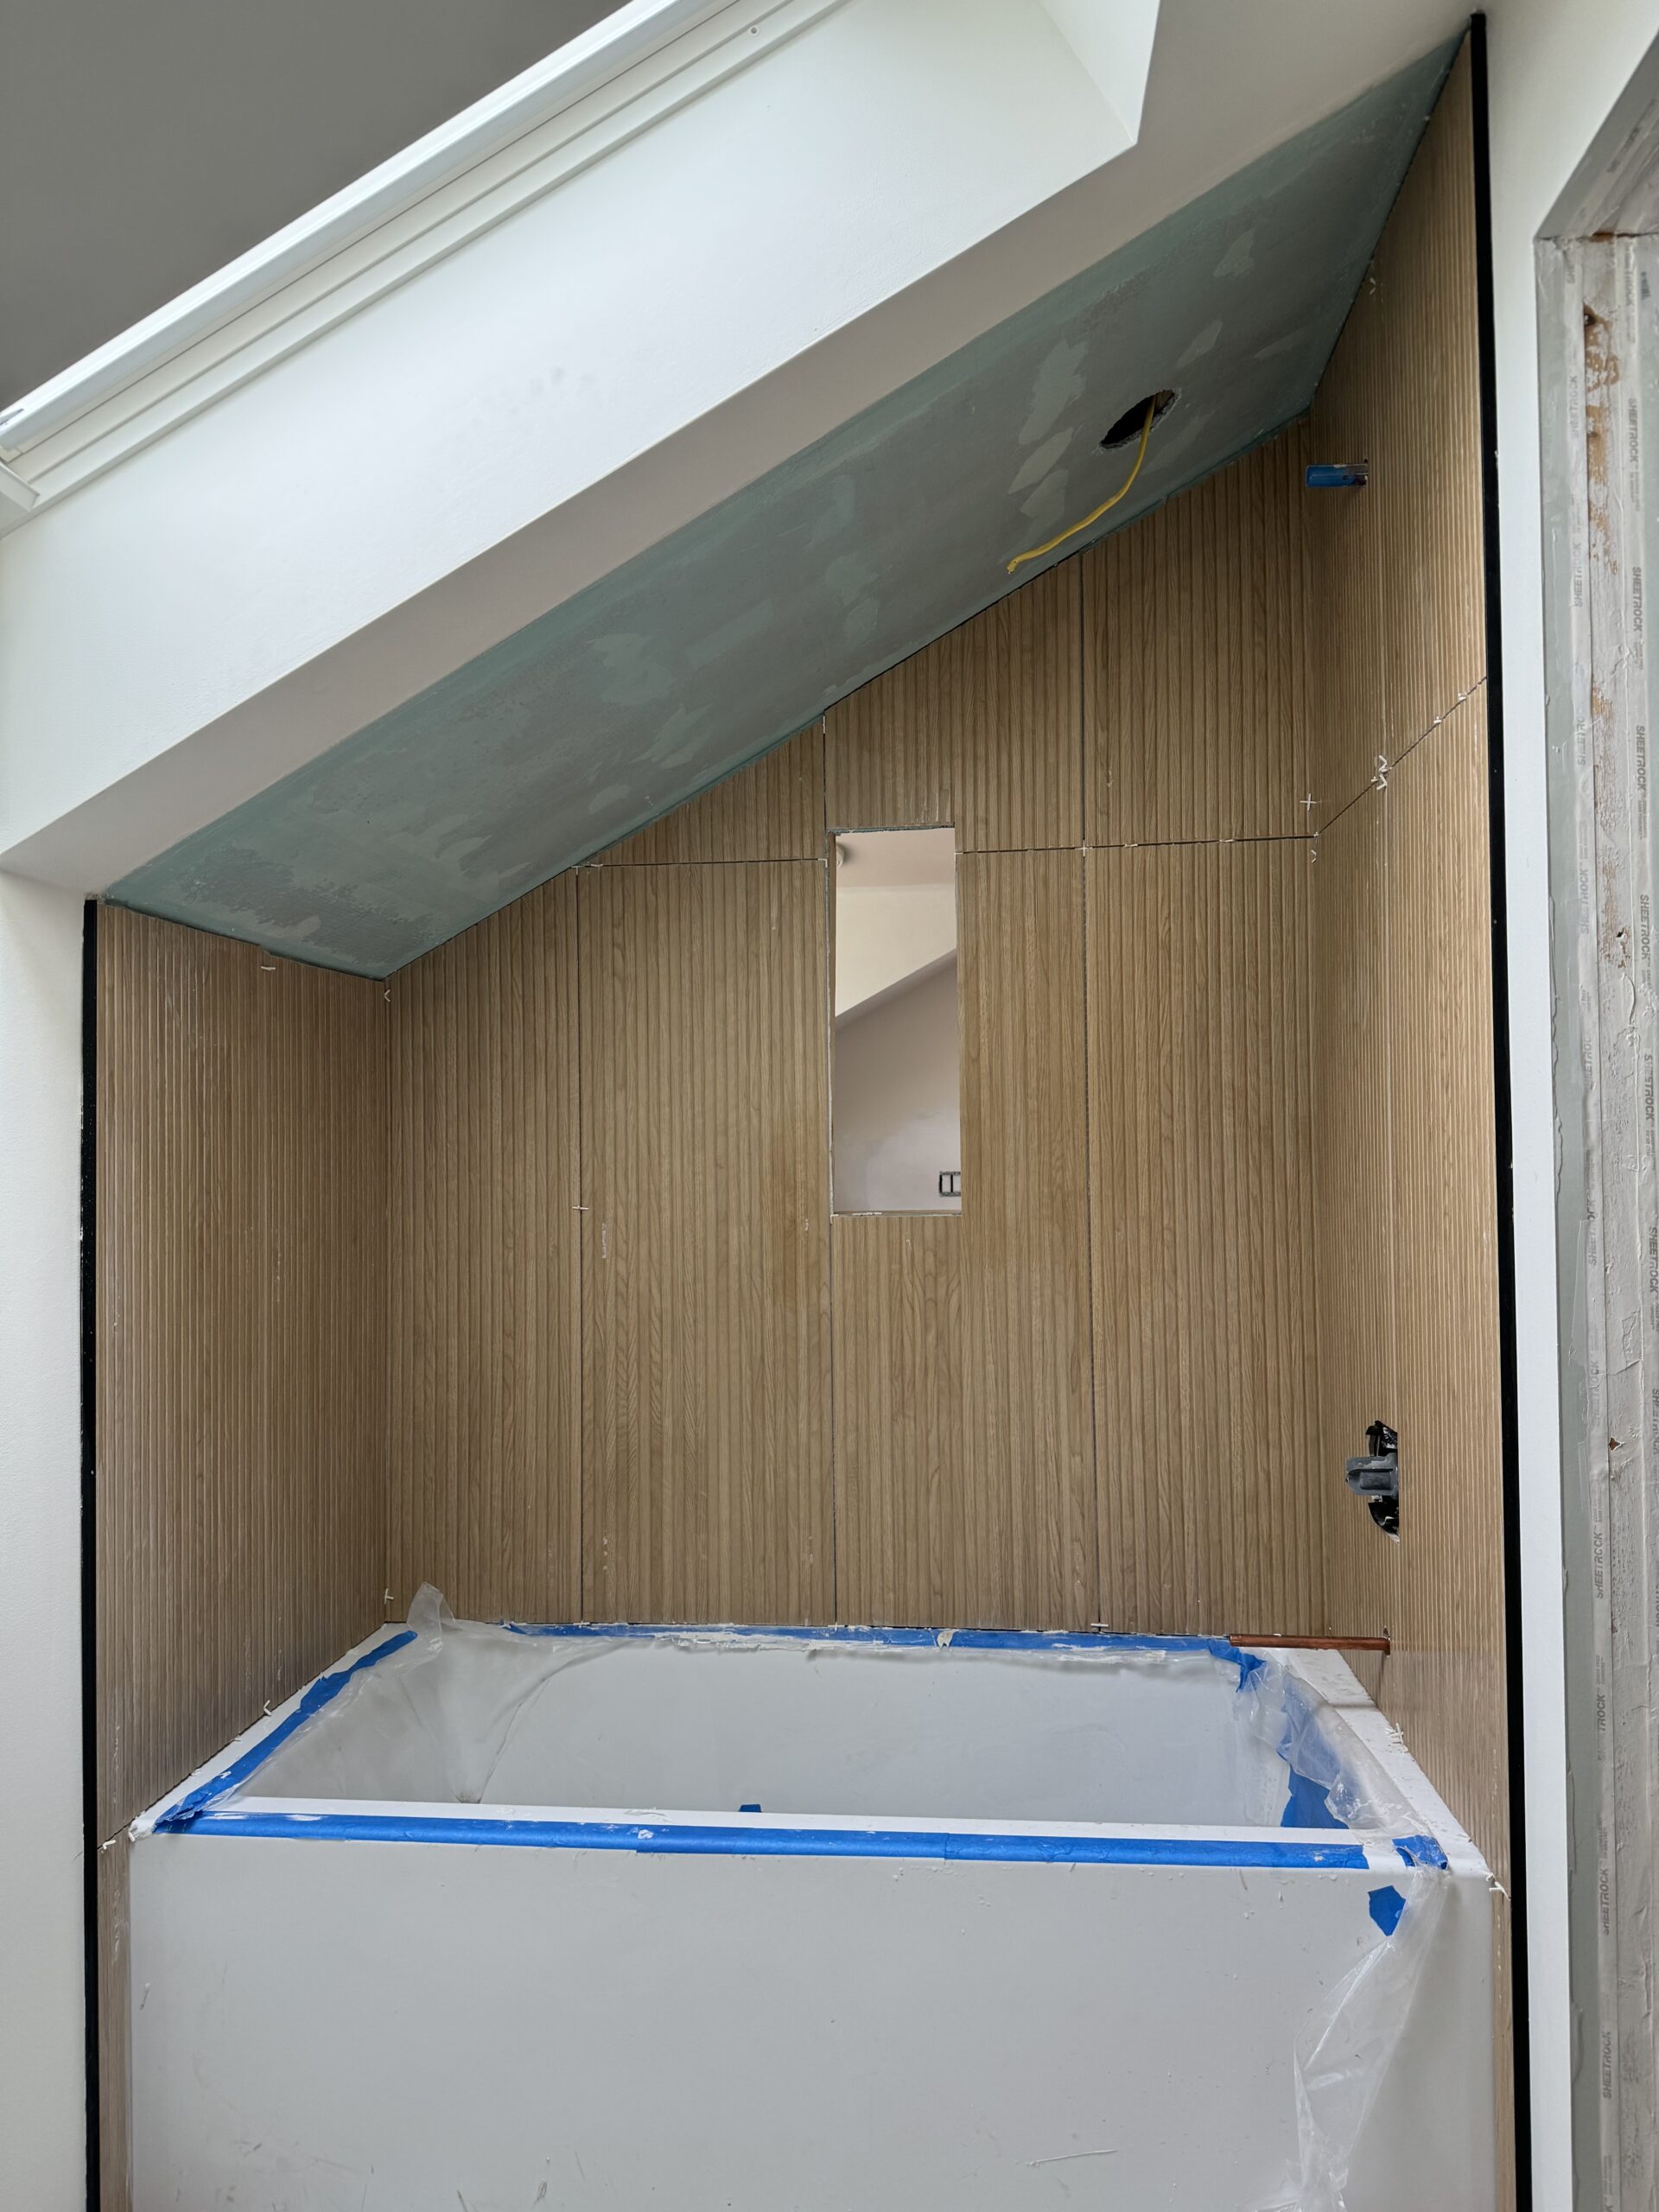
After we got all of the tiles up on the sides of the shower, we started to see how the ceiling tiles were going to go on with the uneven, not level, almost 140 year old angled ceiling. We got stopped dead in our tracks trying to find where to base “square” off of! So Finn bought the last of his most wanted tools, a cordless Dewalt angle grinder with a diamond blade, and we cut our short wall tiles at an uneven angle, so we could fit the tiles, yet keep them snug against the back wall of the shower.
This is where we left it for the week. Once we get the ceiling tackled, which I think will end up being the hardest part of this bathroom renovation, we can start cranking out the floor tiling. I guess you know what is on tap for next week then!
-Michele aka Kiki

