Have you ever started a project by destructively tearing walls out, only to come back to it shocked that those walls came down like 3 years ago? Ohhh boy, does time fly! This is why I am going to focus on getting this very small, weirdly angled attic bathroom FINISHED (typing that word is scary). But I am determined, so I signed up for the One Room Challenge to give me the kick in the butt that I desperately need. Here we go with the Spring Challenge – 2024!
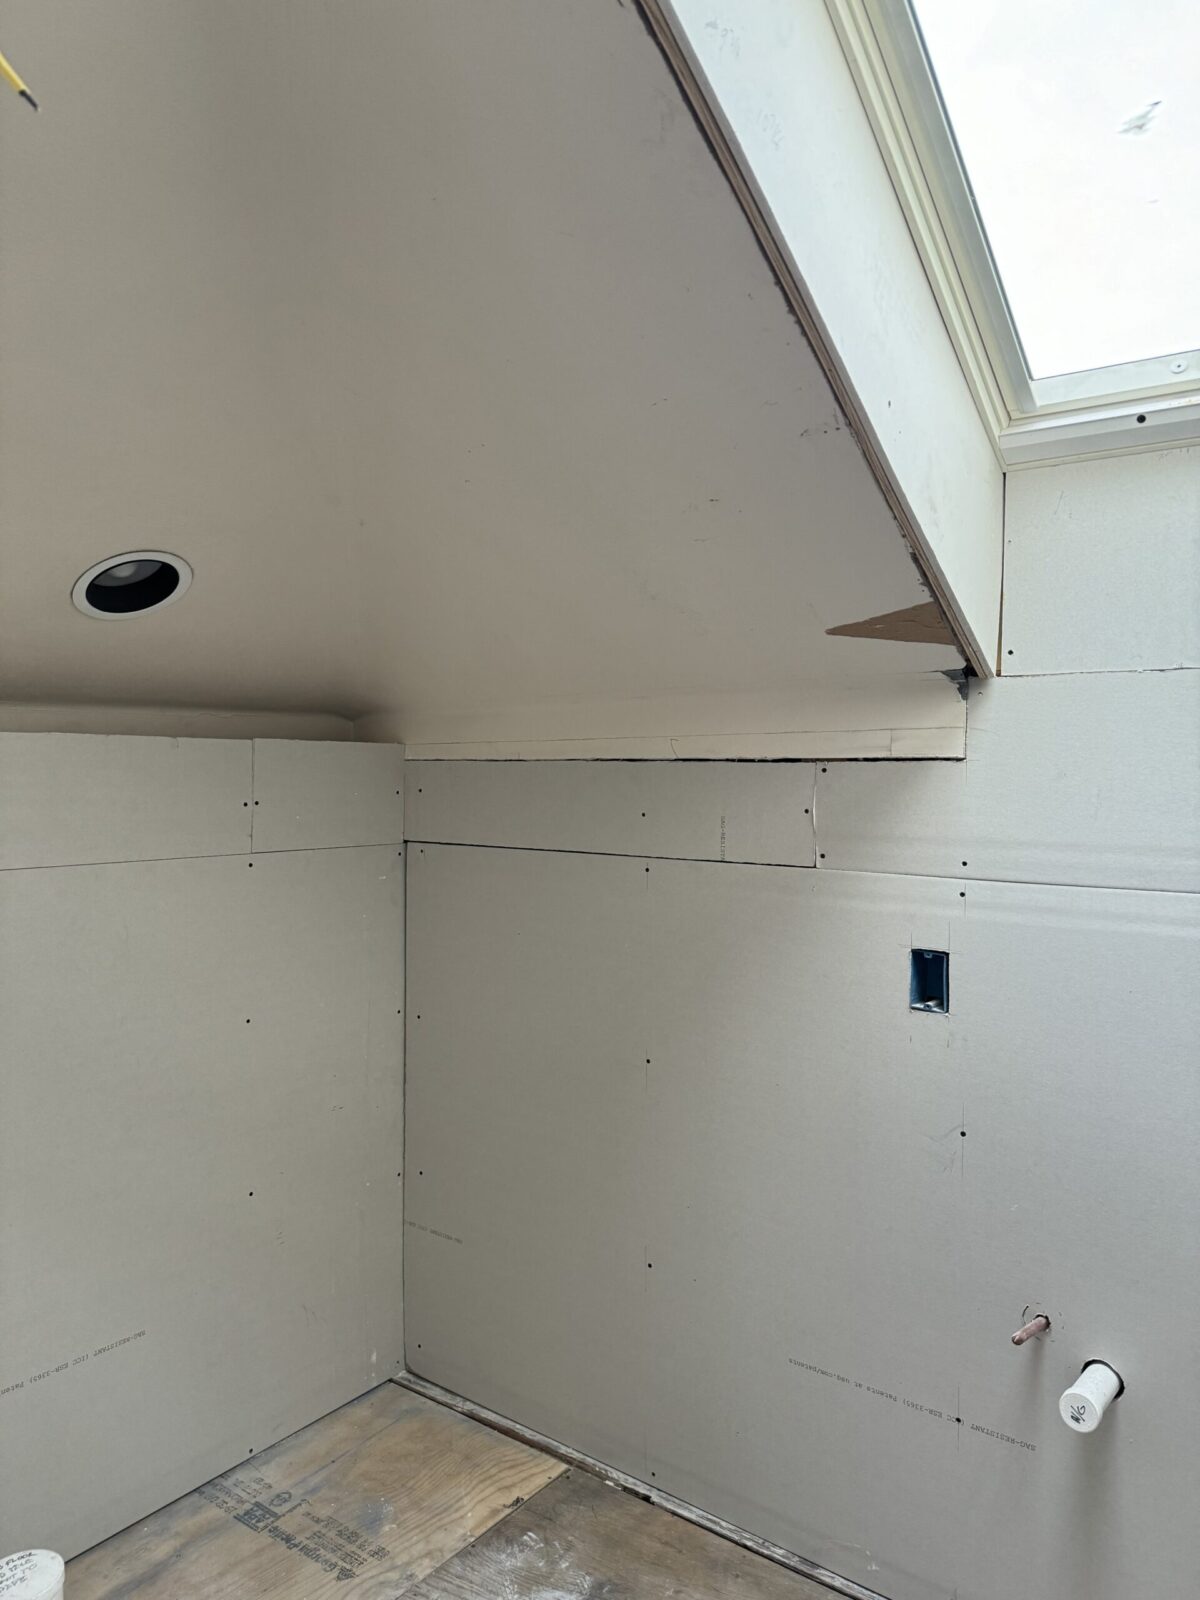
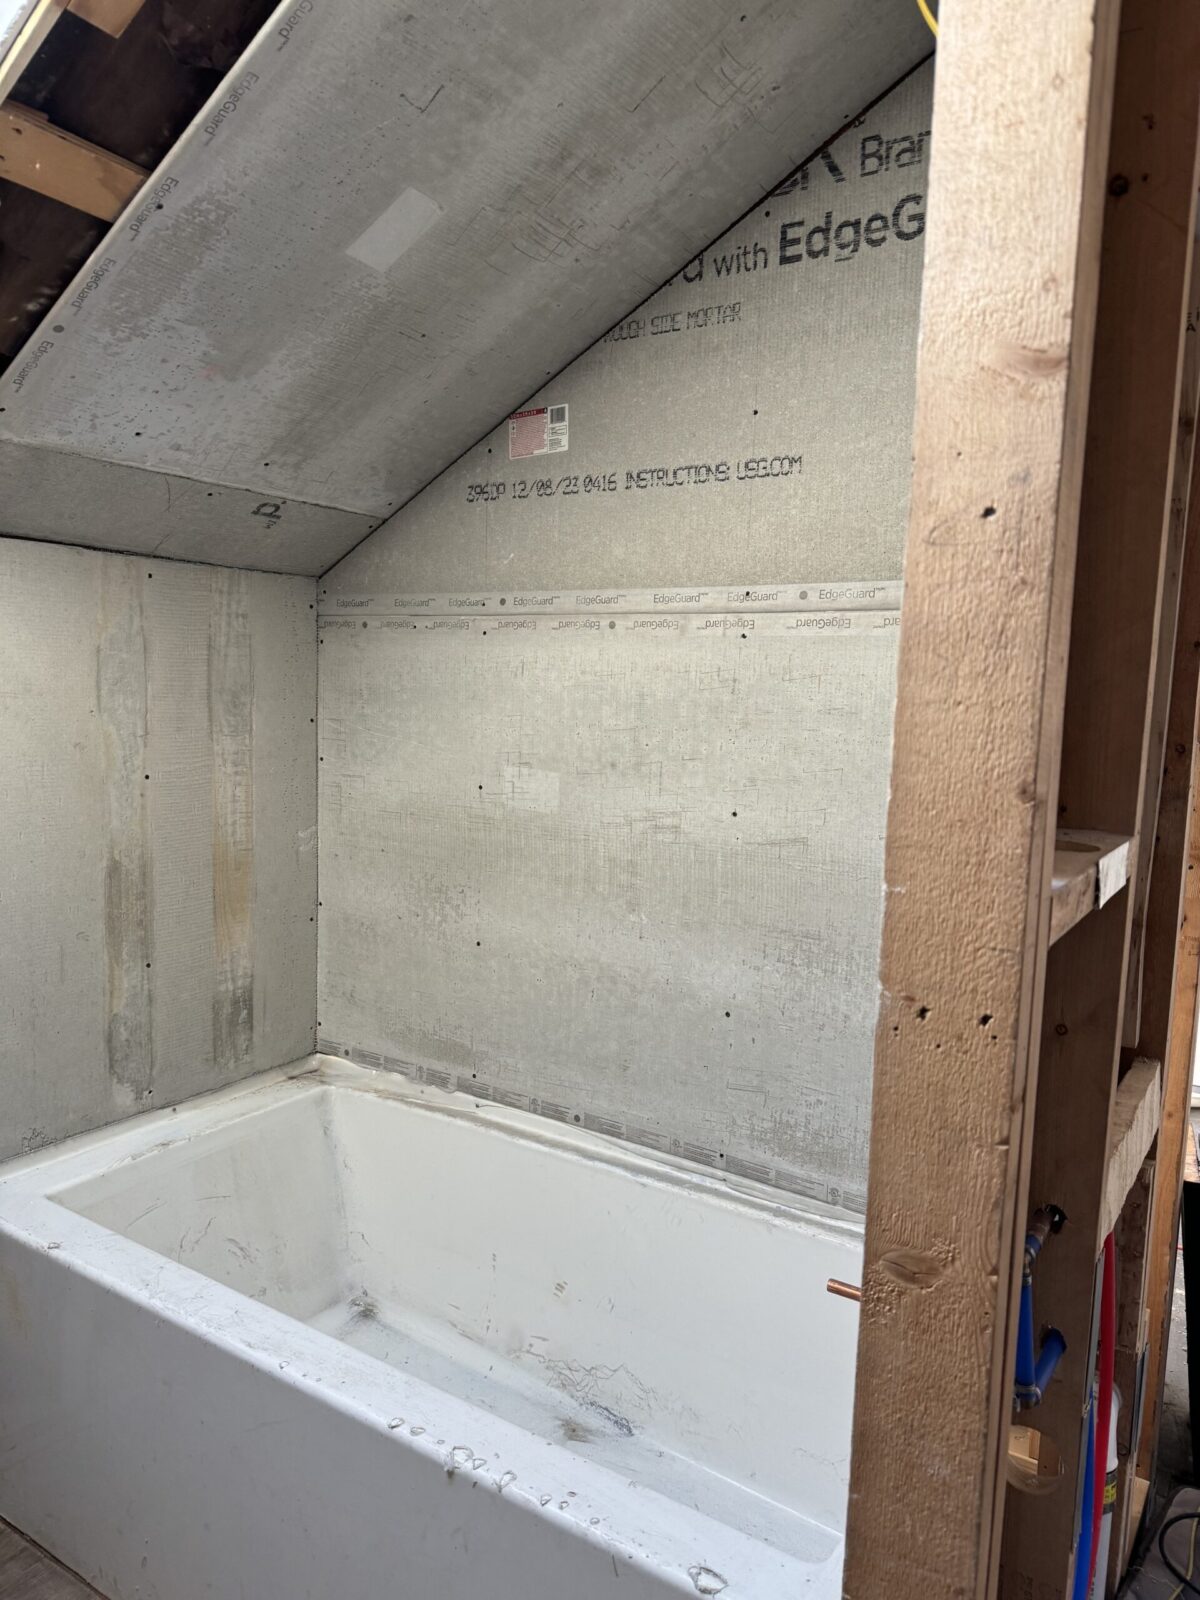
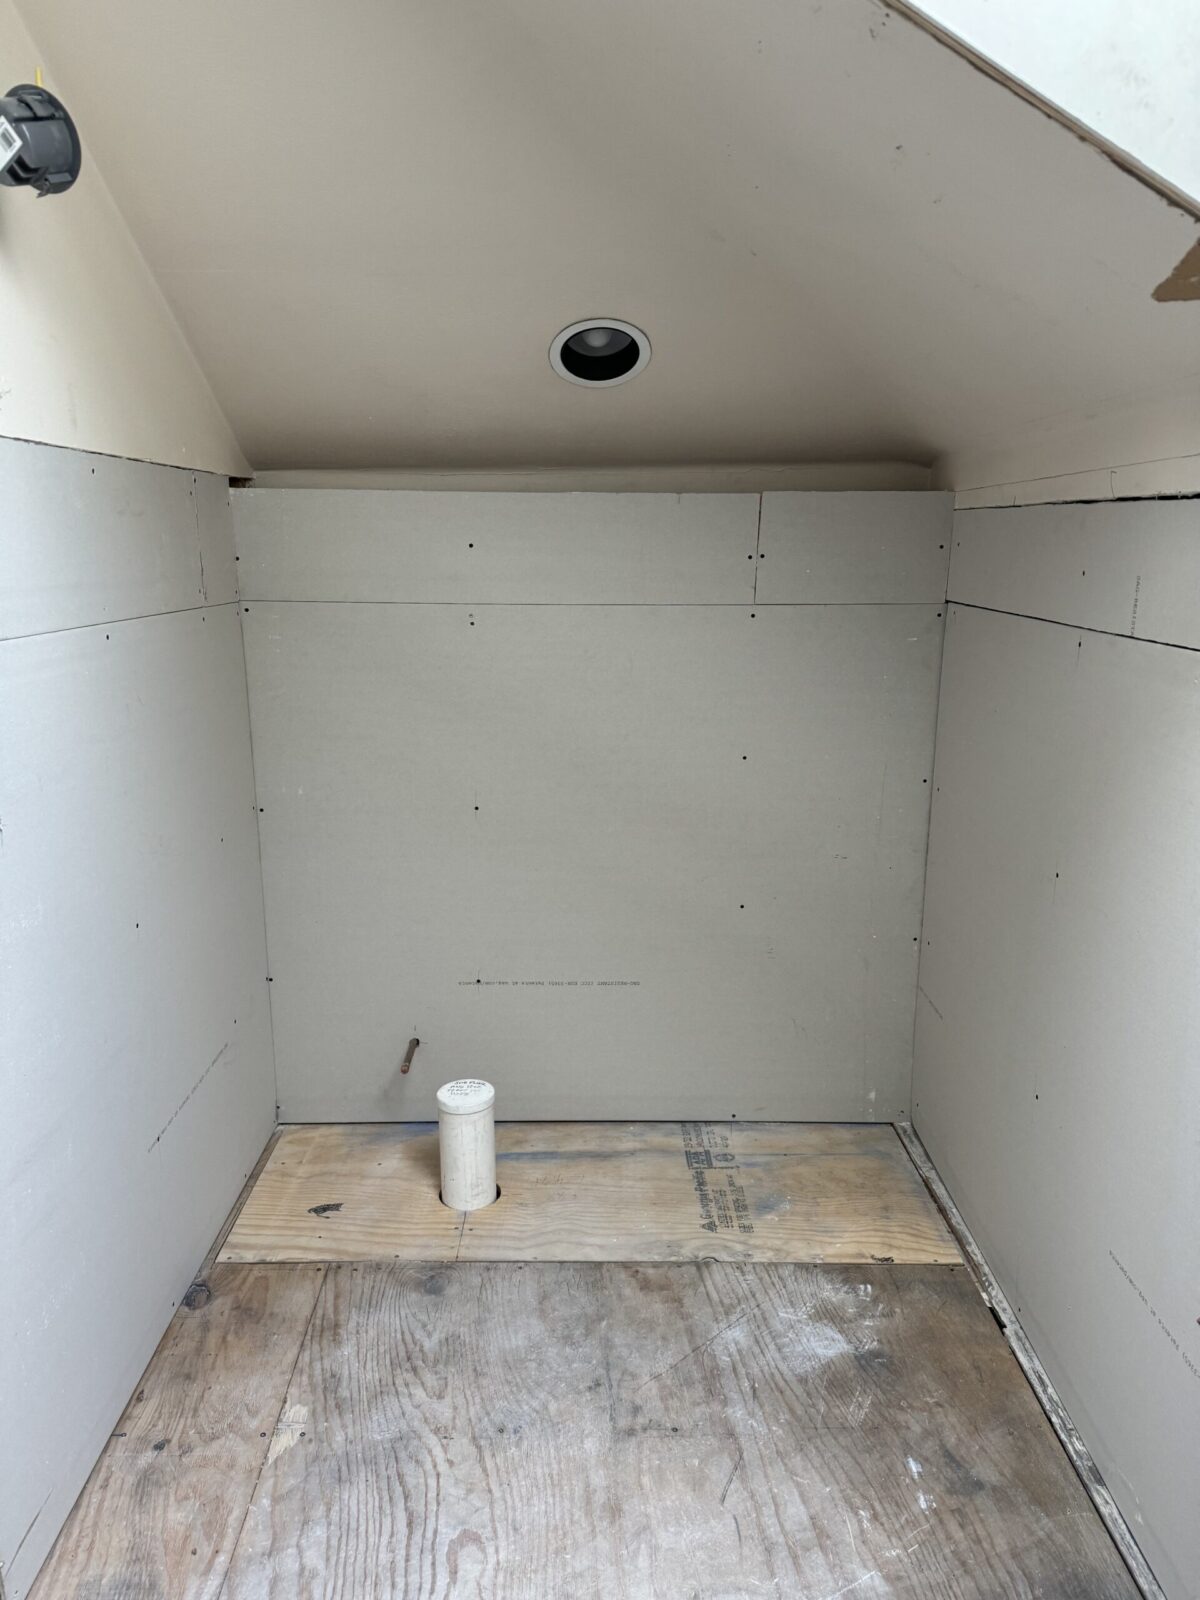
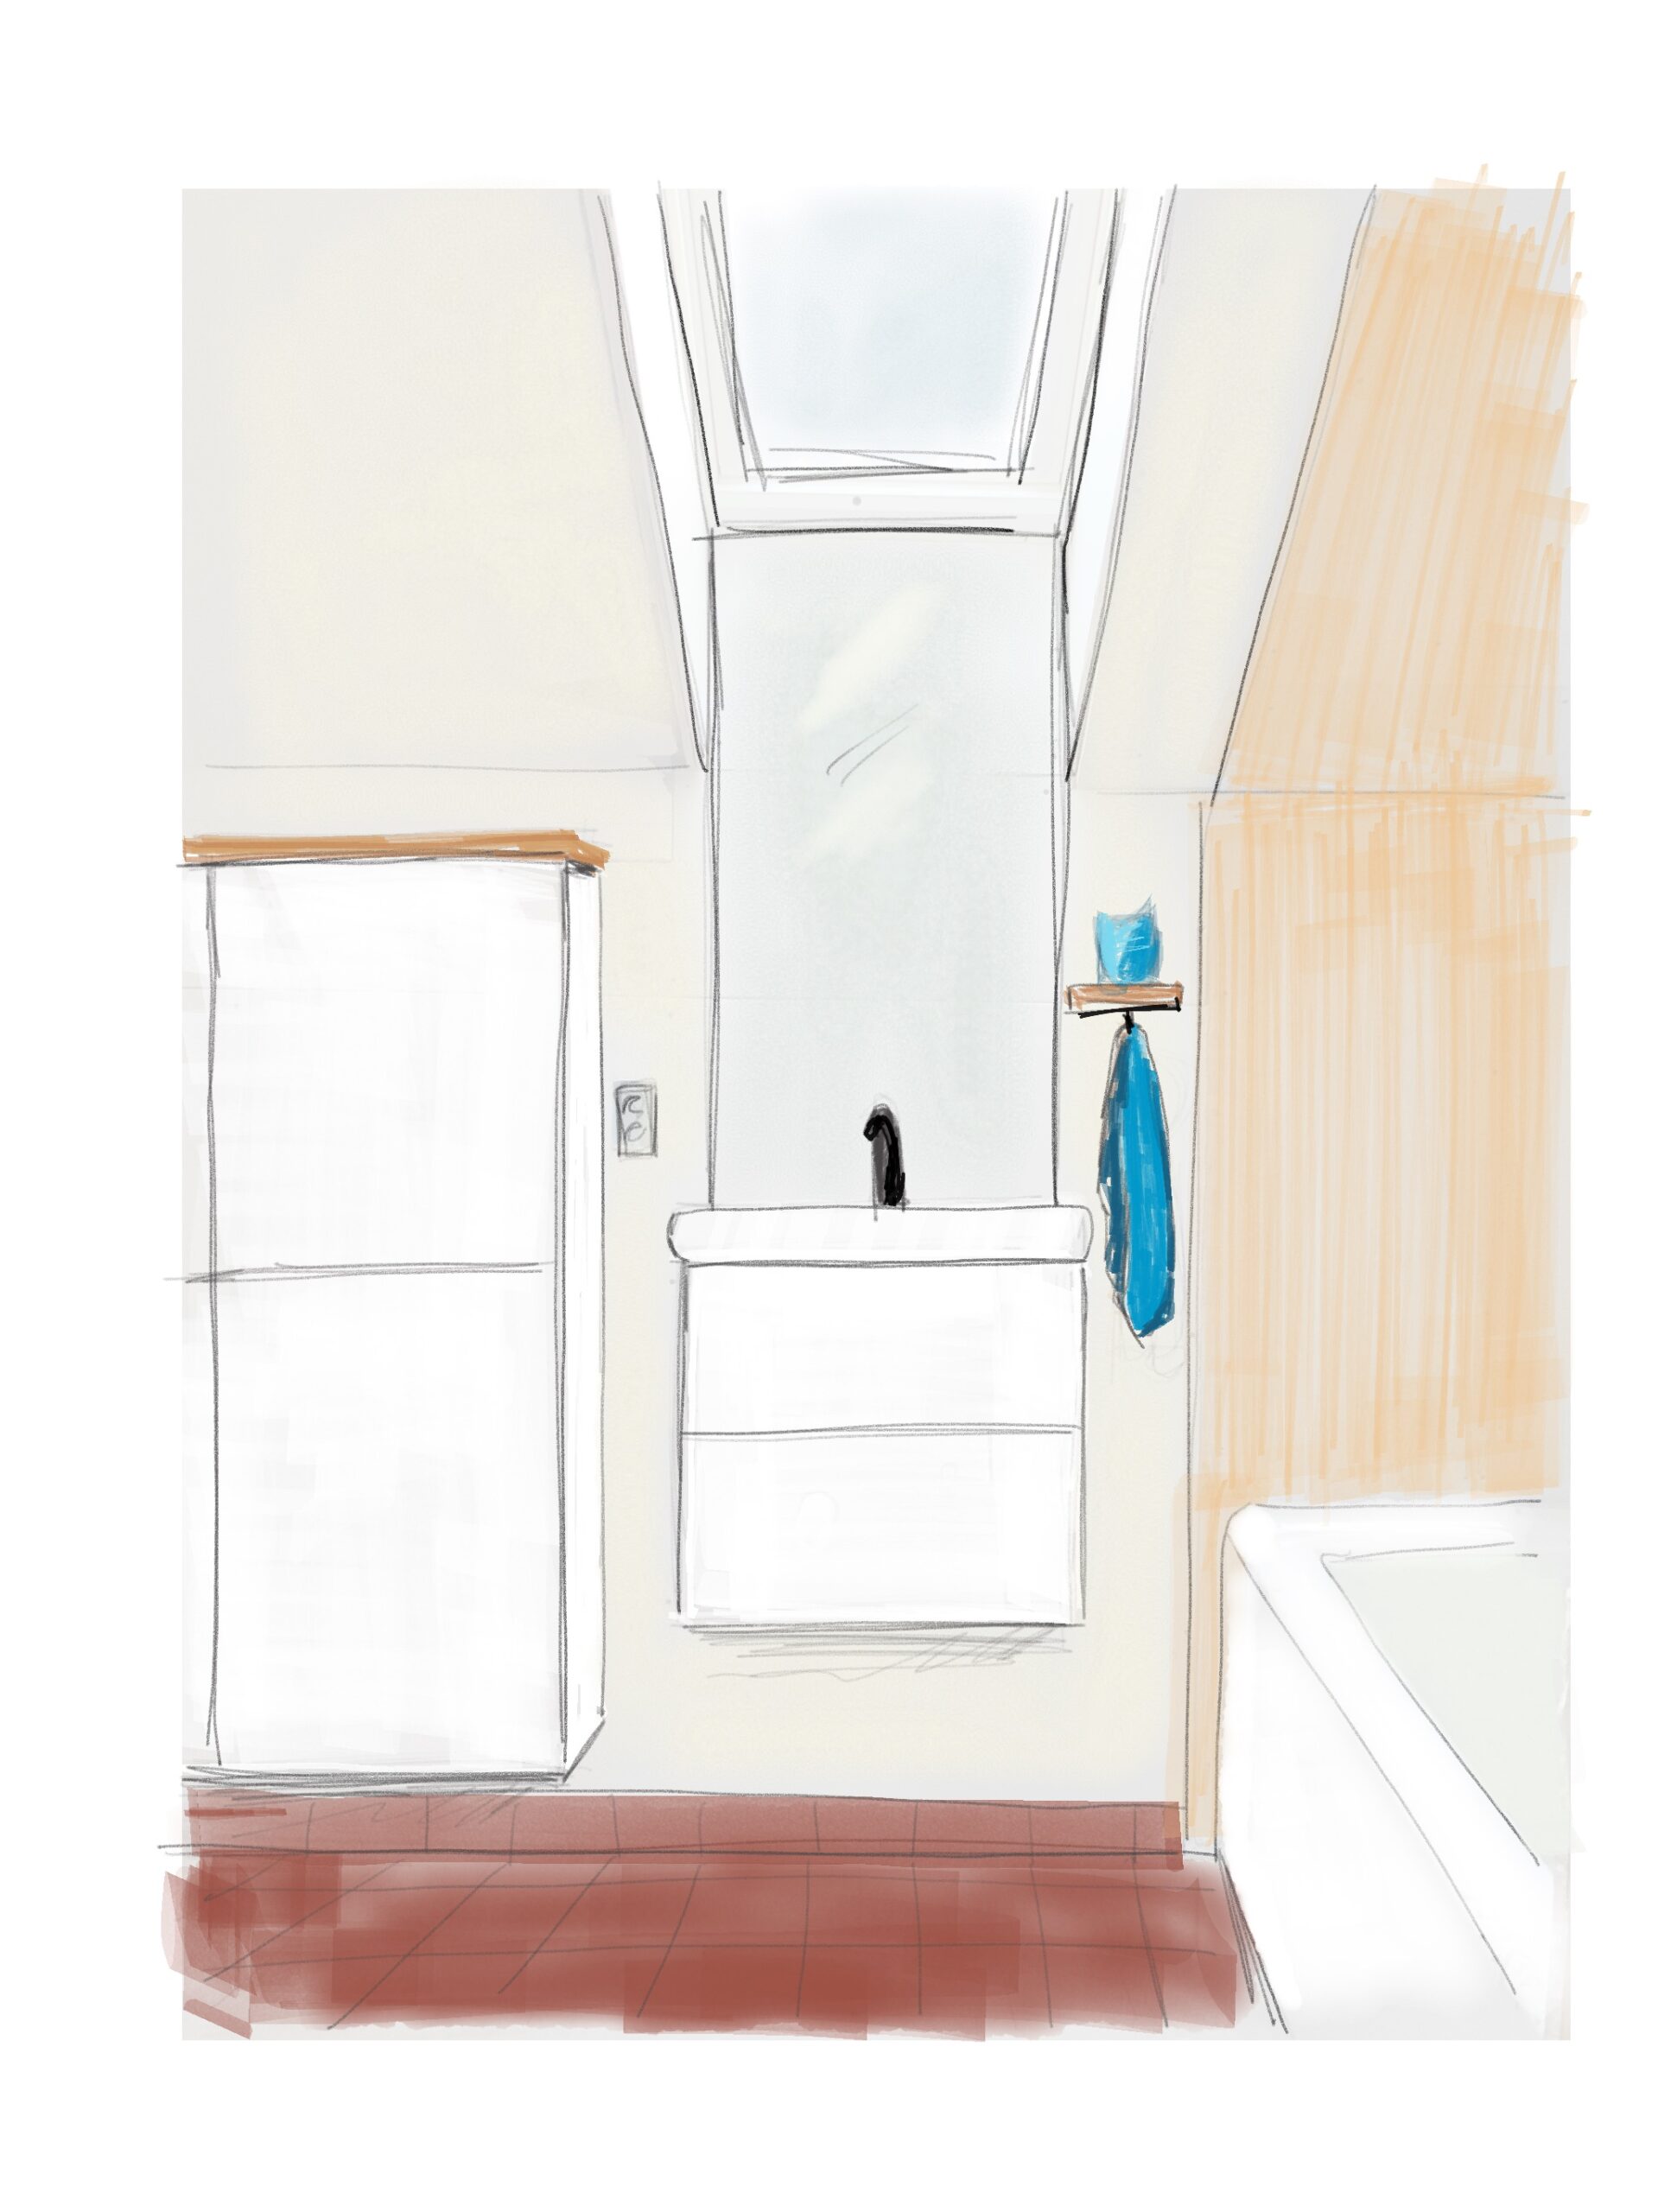
So this is what the room looks like as we embark on this 8-week challenge. As you can see, the room is very small and stuck into the eaves and dormers on the third floor of this old, beautiful building. There is no real flat ceiling to speak of, just angles everywhere that are hard to capture in photos. My husband and I added a skylight to bring in some much needed light and that definitely helped to open the space up. This room will be our master bathroom, a tiny, but mighty one!
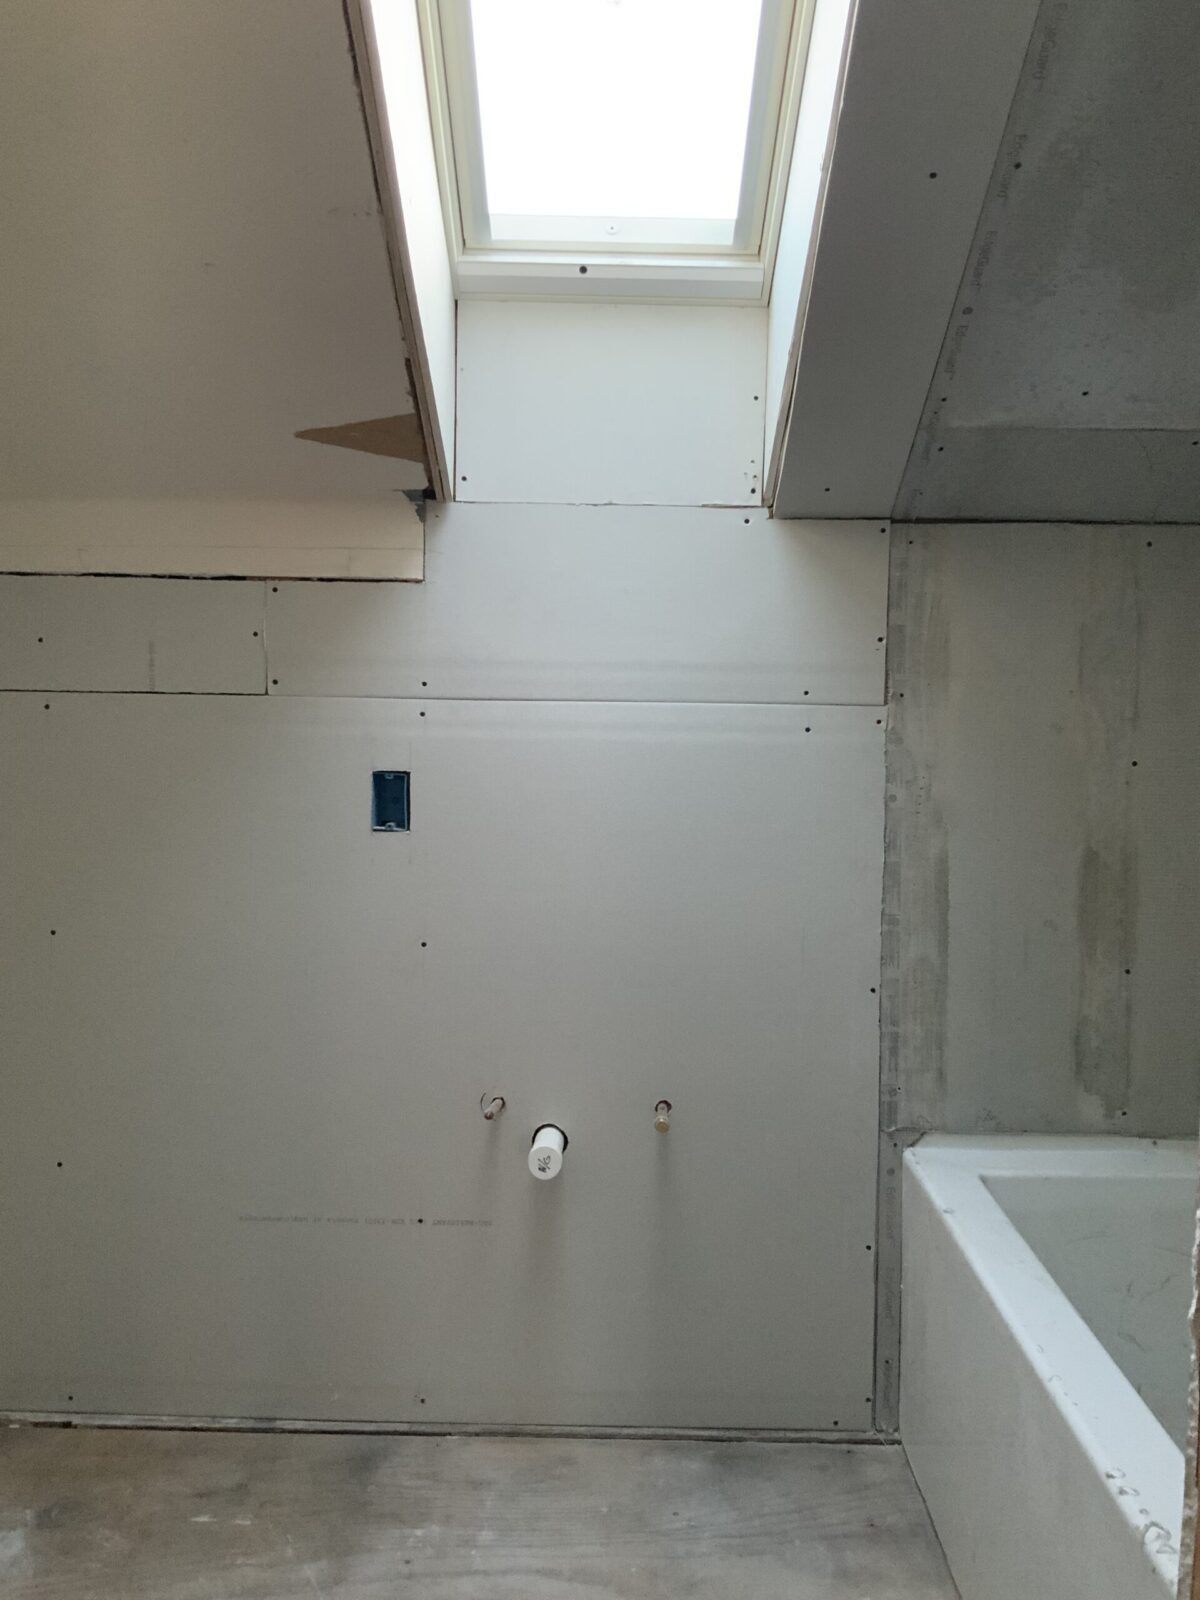
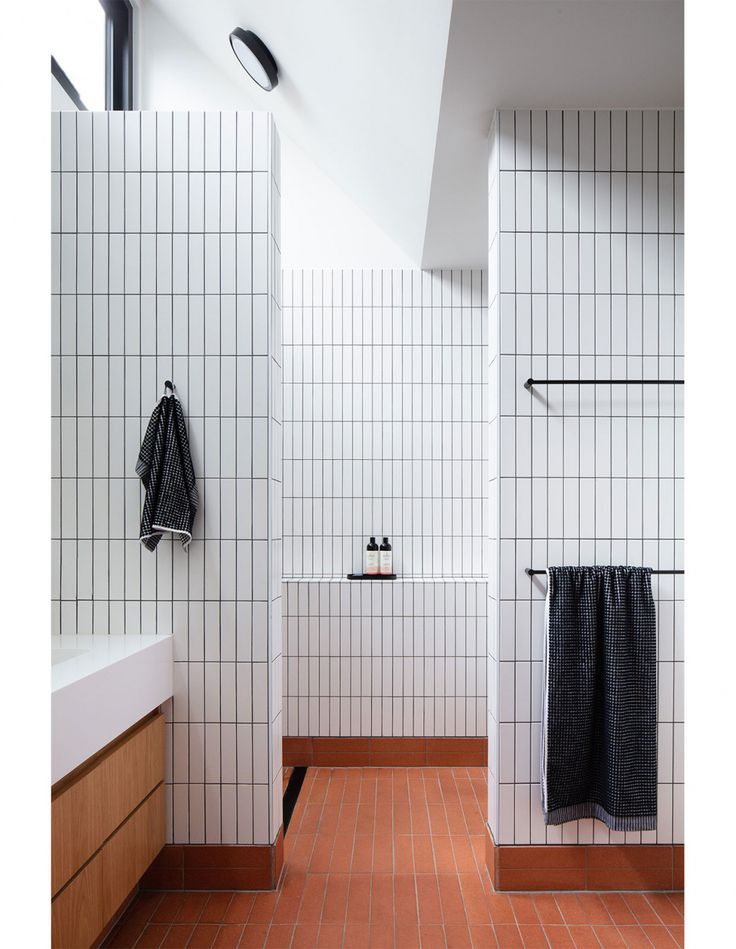
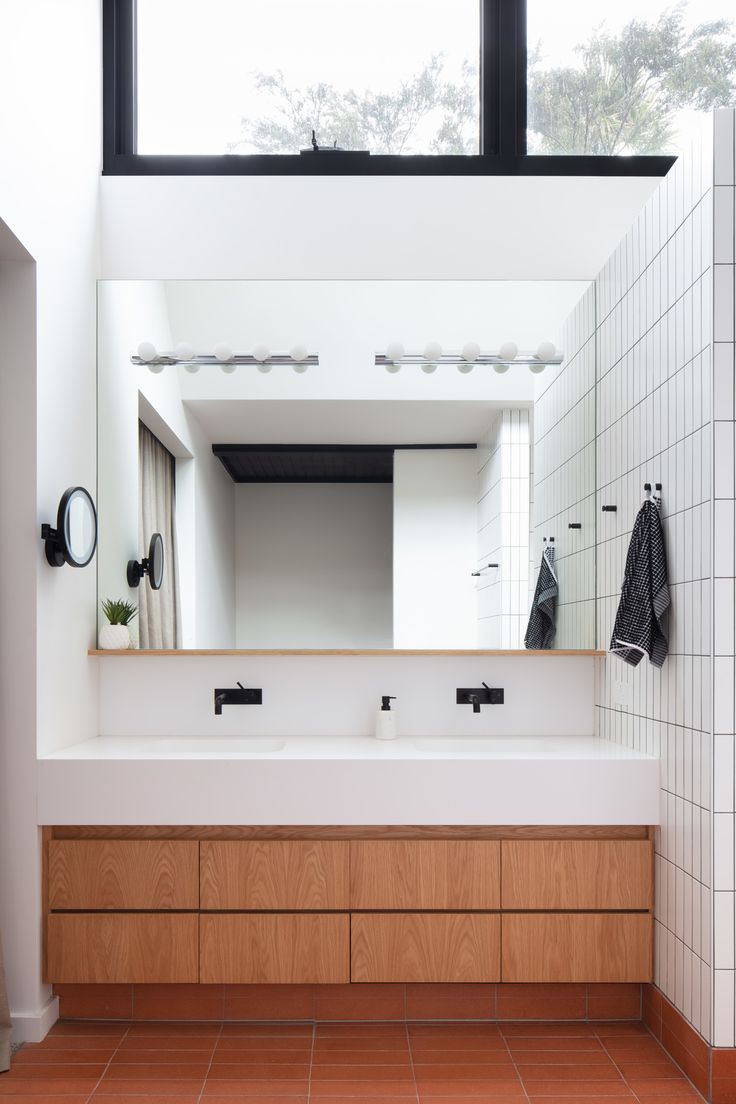
We had plumbers come and get us ready for drywall last fall, and I have been busy finding other things to do ever since. I’m actually pretty excited, and I hope PREPPED for the next 2 months! In terms of design, I love mid-century modern, Scandinavian, warm wood tones, natural finishes, lots of art, and pops of color. I thought long and hard about this bathroom design and found myself gravitating to this look:
I love this wood-like tile from tilebar despite me hating all other ceramic tile that looks like wood. I am going for a “Scandinavian Kitsch” vibe for the entire master bedroom suite that this bathroom is in. What is that, you ask? I might not be 100% sure, but stay tuned to find out! The design is chock full of IKEA, so it tracks…
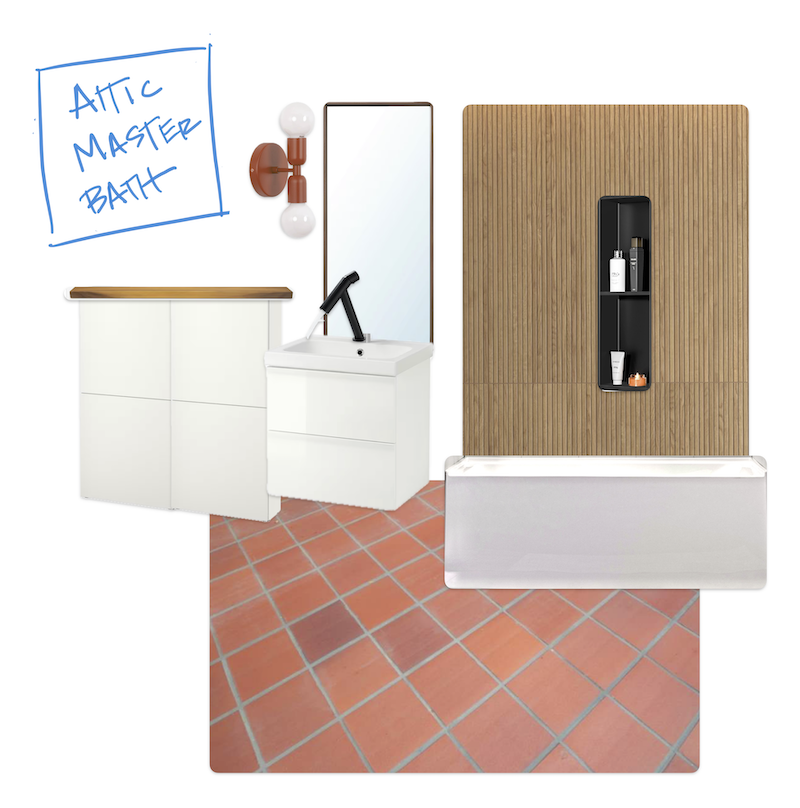
I have champagne tastes and a water budget, so I am constantly finding pieces on sale or on Craigslist or Facebook Marketplace, and putting the pieces together into a cohesive design. I find it a fun challenge and when I come across a big ticket item like the soaking tub for half price on Craigslist, I find a place to store it for 6+ months, til it’s time to use it! I also hack IKEA pieces like it’s my full-time job. There is also a DIY lighted mirror idea that I’m still noodling around with, that I’m hoping to figure it out before time runs out!
Okay, so let’s get down to business. My to-do list for the next two months is as follows:
- Finish drywall and sanding
- Cement board on the floor and prep seams and coat the shower area with waterproofing membrane
- Paint the walls and ceiling, assemble and hang the IKEA cabinets, cut wood shelf, sand and stain
- Tile the shower walls and the floor
- Put up lights, fit the bathroom shelf, DIY a lighted, fitted mirror above the sink
- Wood trim around the door, frost the panels on the door’s glass panes, install door hardware and hang door
- Plumbers install the toilet, sink, and shower fixtures
- Finishing touches! And DONE.
Don’t forget to check out and cheer on the other participants in this Spring 2024 One Room Challenge!