I’m feeling a myriad of emotions on this final week. I’m happy that so much work got done, but bummed that it didn’t ALL get done. I’m pretty proud of how I challenged myself and didn’t give up, even when it got REAL HARD. And I hate saying this, but I’m a little disappointed that I didn’t find the online camaraderie that I had hoped for during the last 8 weeks. Anyhoo, I’m gonna embrace the good and shrug off the parts that are not so great, because when it comes down to it, a 90% finished bathroom > NO BATHROOM at all! And I will get it over the finish line, along with all of the details that I imagined when I first embarked on this renovation.
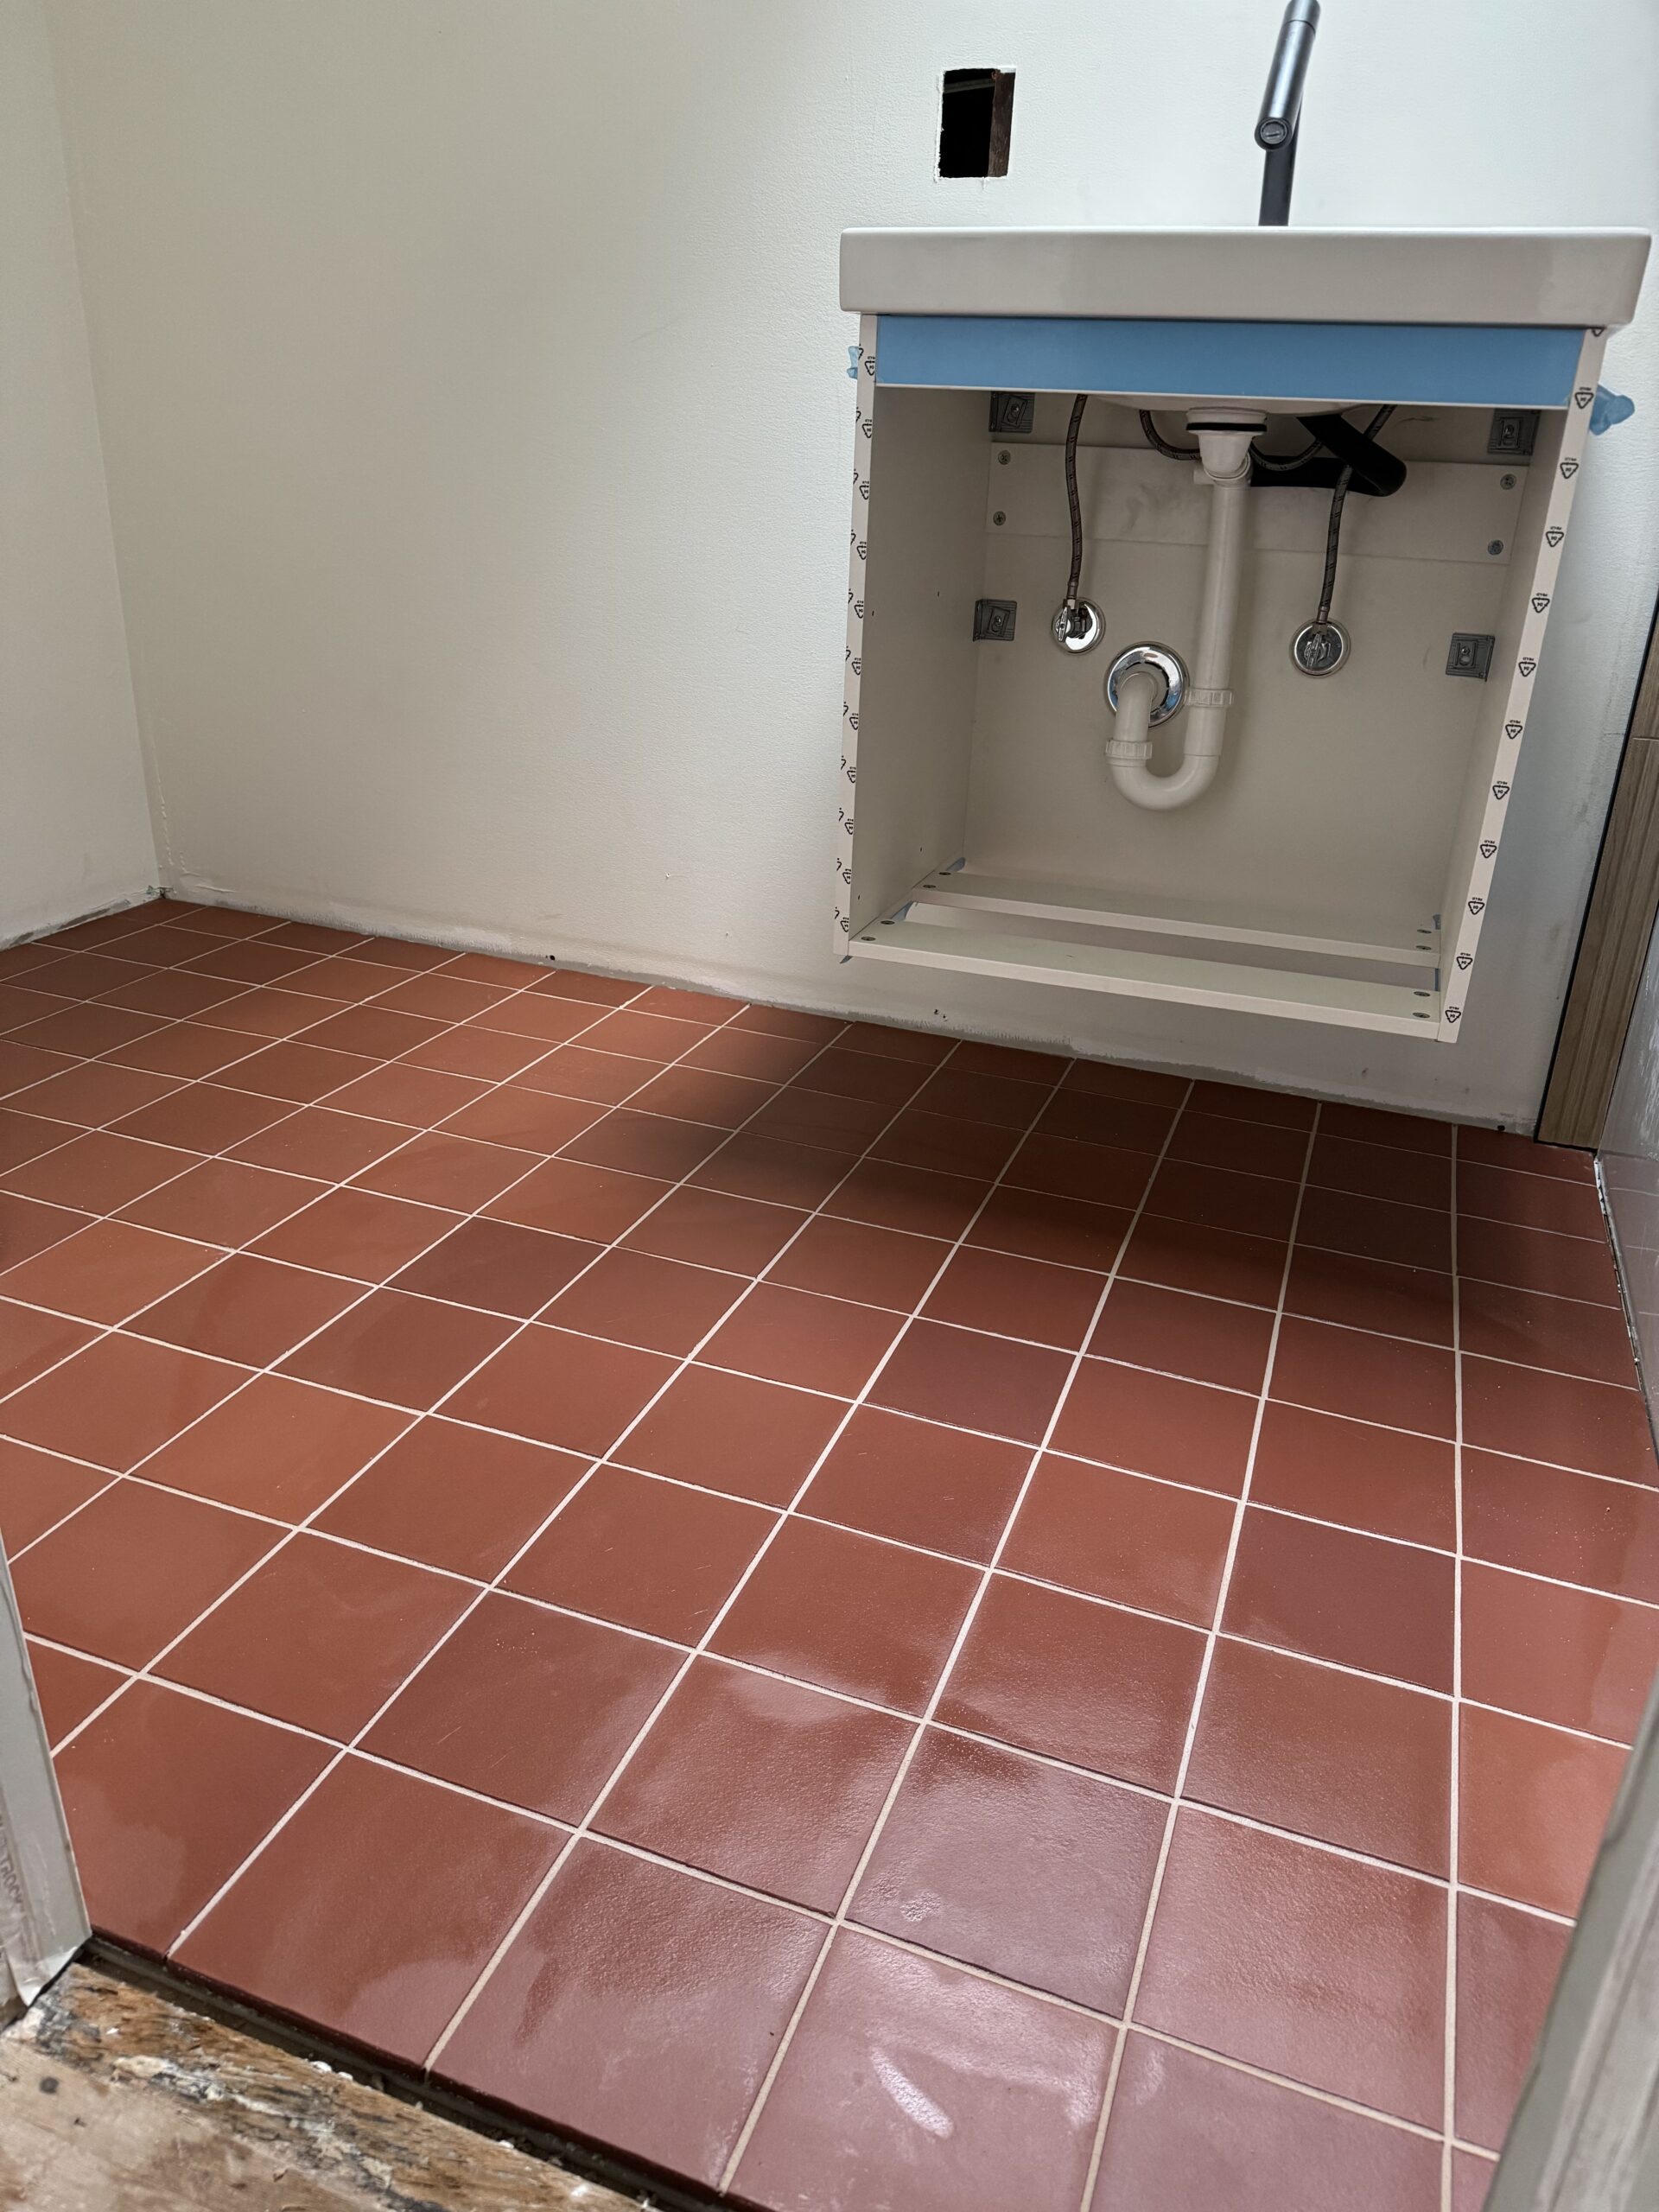
Rewind to where we left off at the end of last week’s post. I had laid all of the tile on the bathroom floor, but I had only grouted around where the toilet was going. So back to the old knees, to finish up the project! I decided to use the same grout that was used on the shower tiles to keep the design cohesive after doing a sample test of the colors together.
Boy oh boy does that floor look nice! I actually like the slight color variation in the tiles. It gives it a real natural look.
The next day my Dad was coming to do some dry walling in the main area of the future third floor master bedroom to help us get to the next step that I’m calling “cork phase”. Yep, you guessed it, more flooring projects in the upcoming months!
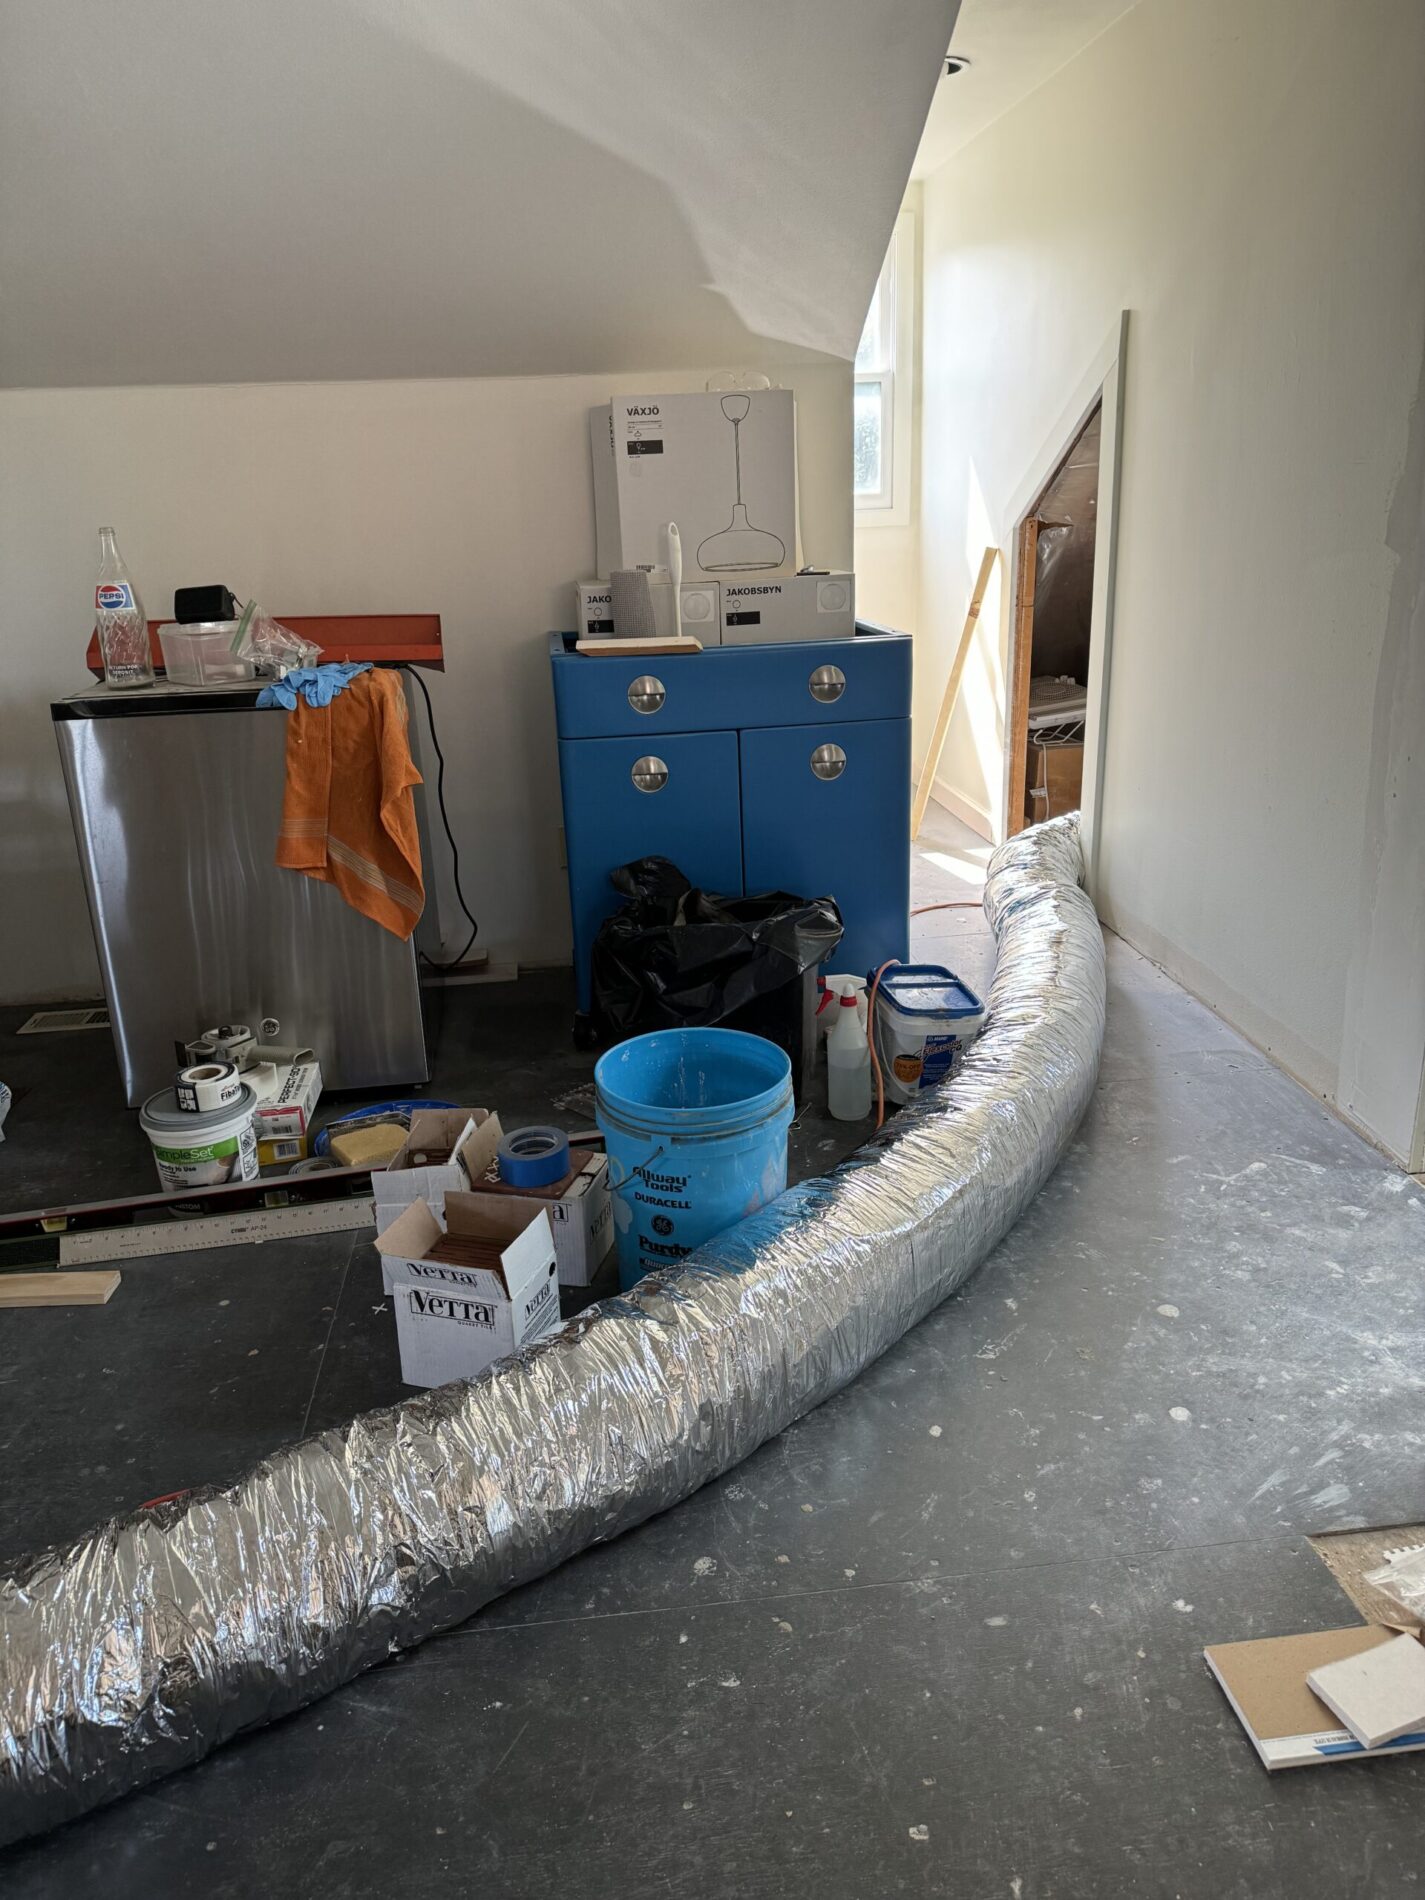
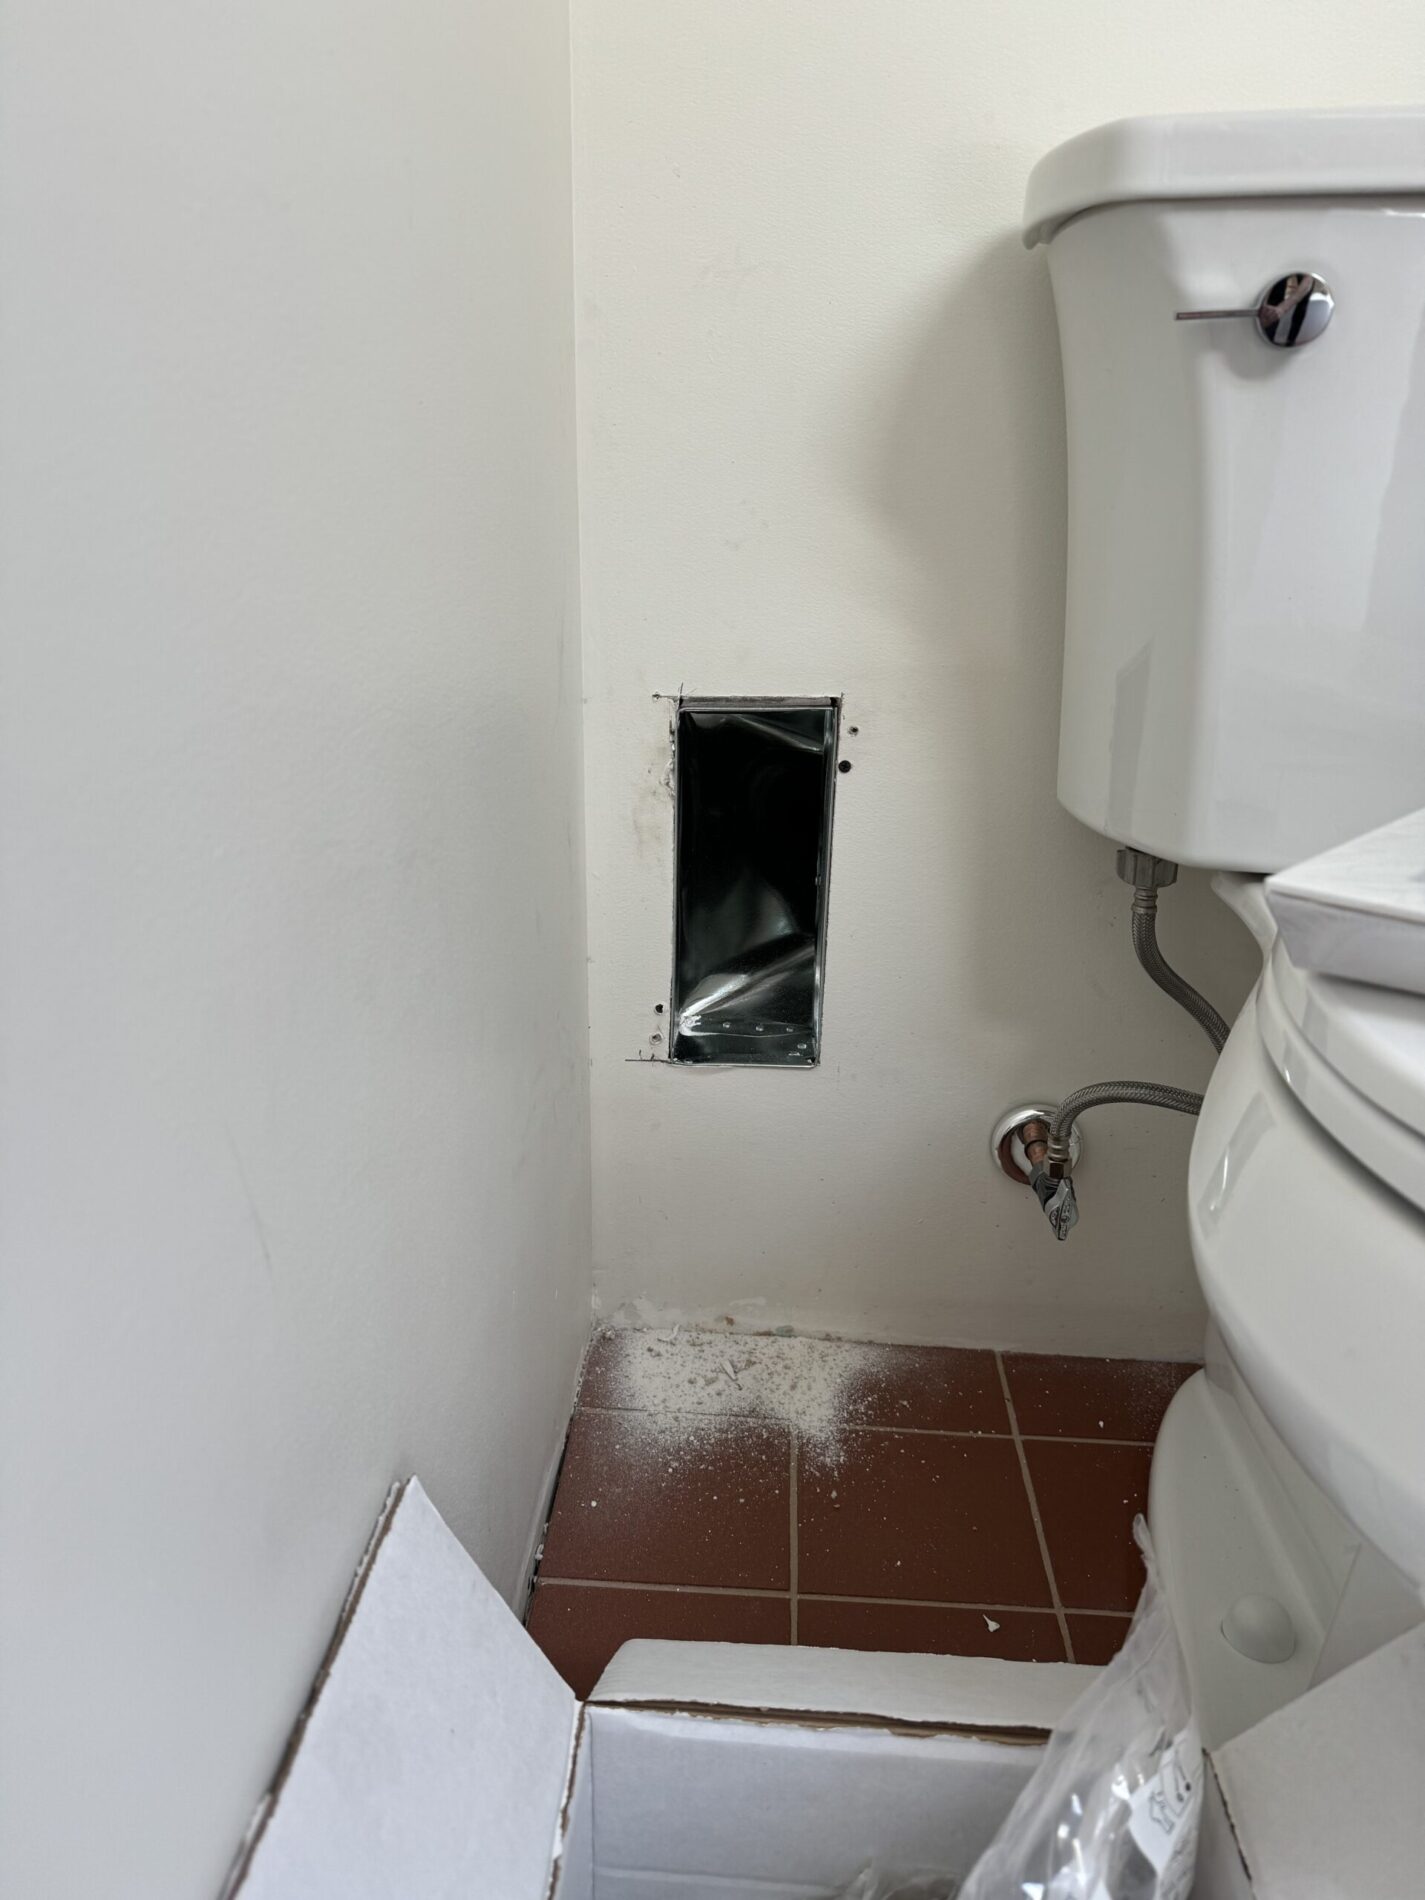
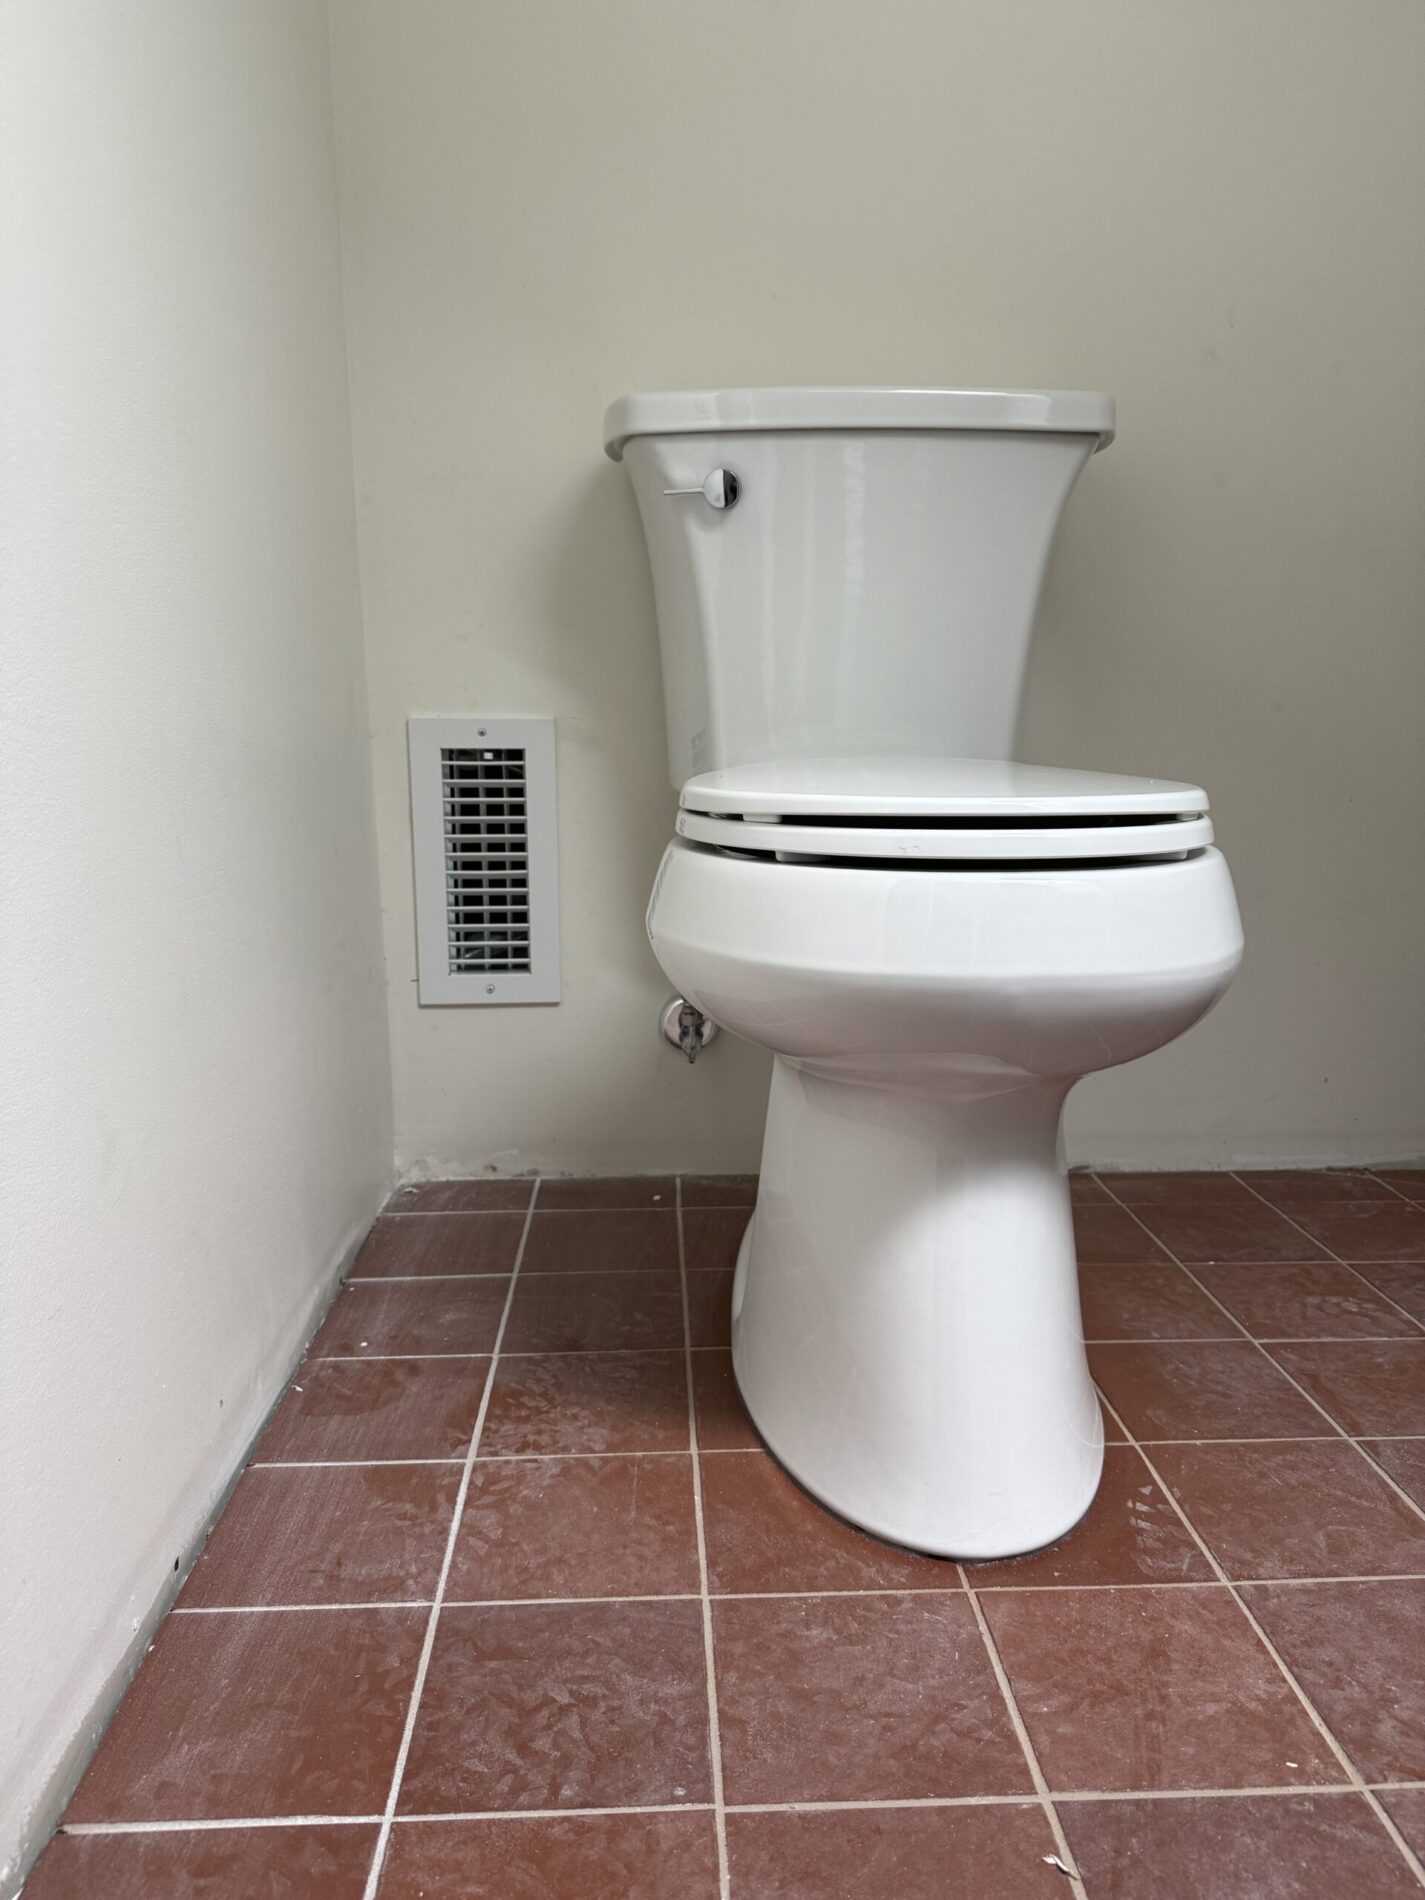
First things first, I had Dad help get a vent register back into the bathroom wall. It couldn’t happen quick enough, because temperatures were pushing 90 degrees! We had to extend the original flexible ductwork around the corner and make it less conspicuous by placing it by the toilet.
Ahhhhhh… feel the cool breeze! I still can’t believe I totally forgot about that. Thankfully, I realized it in May and not July in St. Louis!
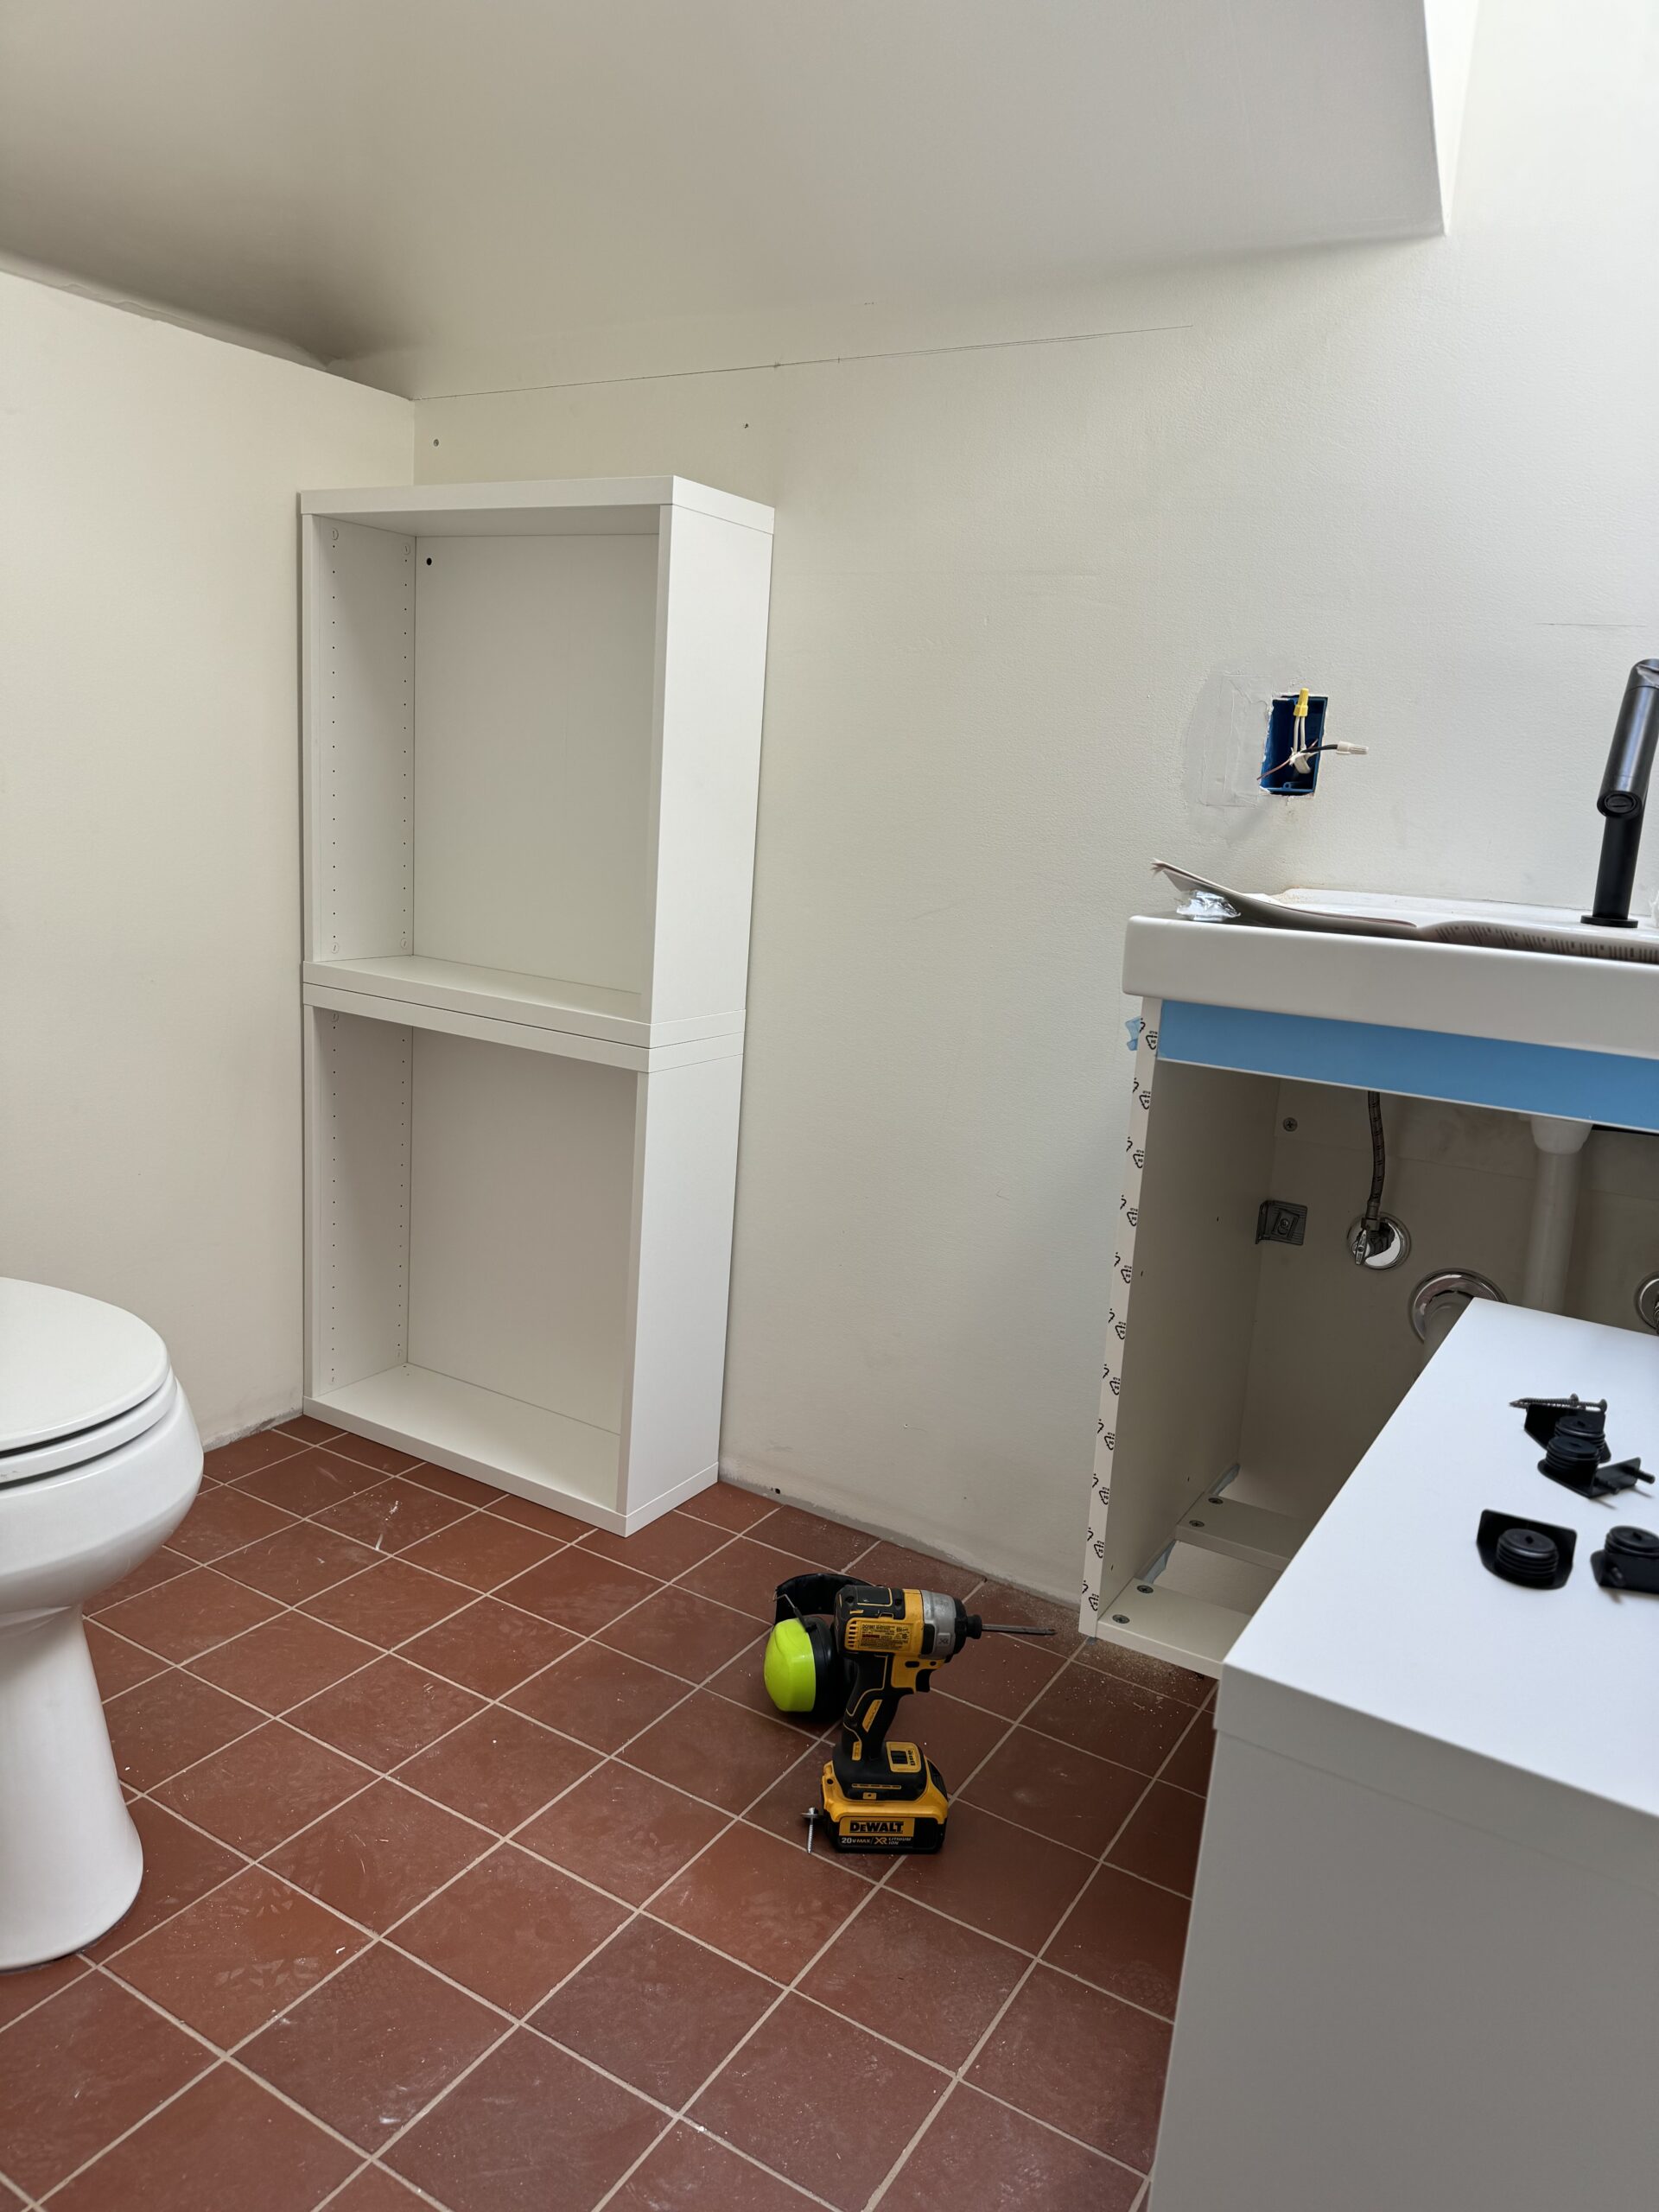
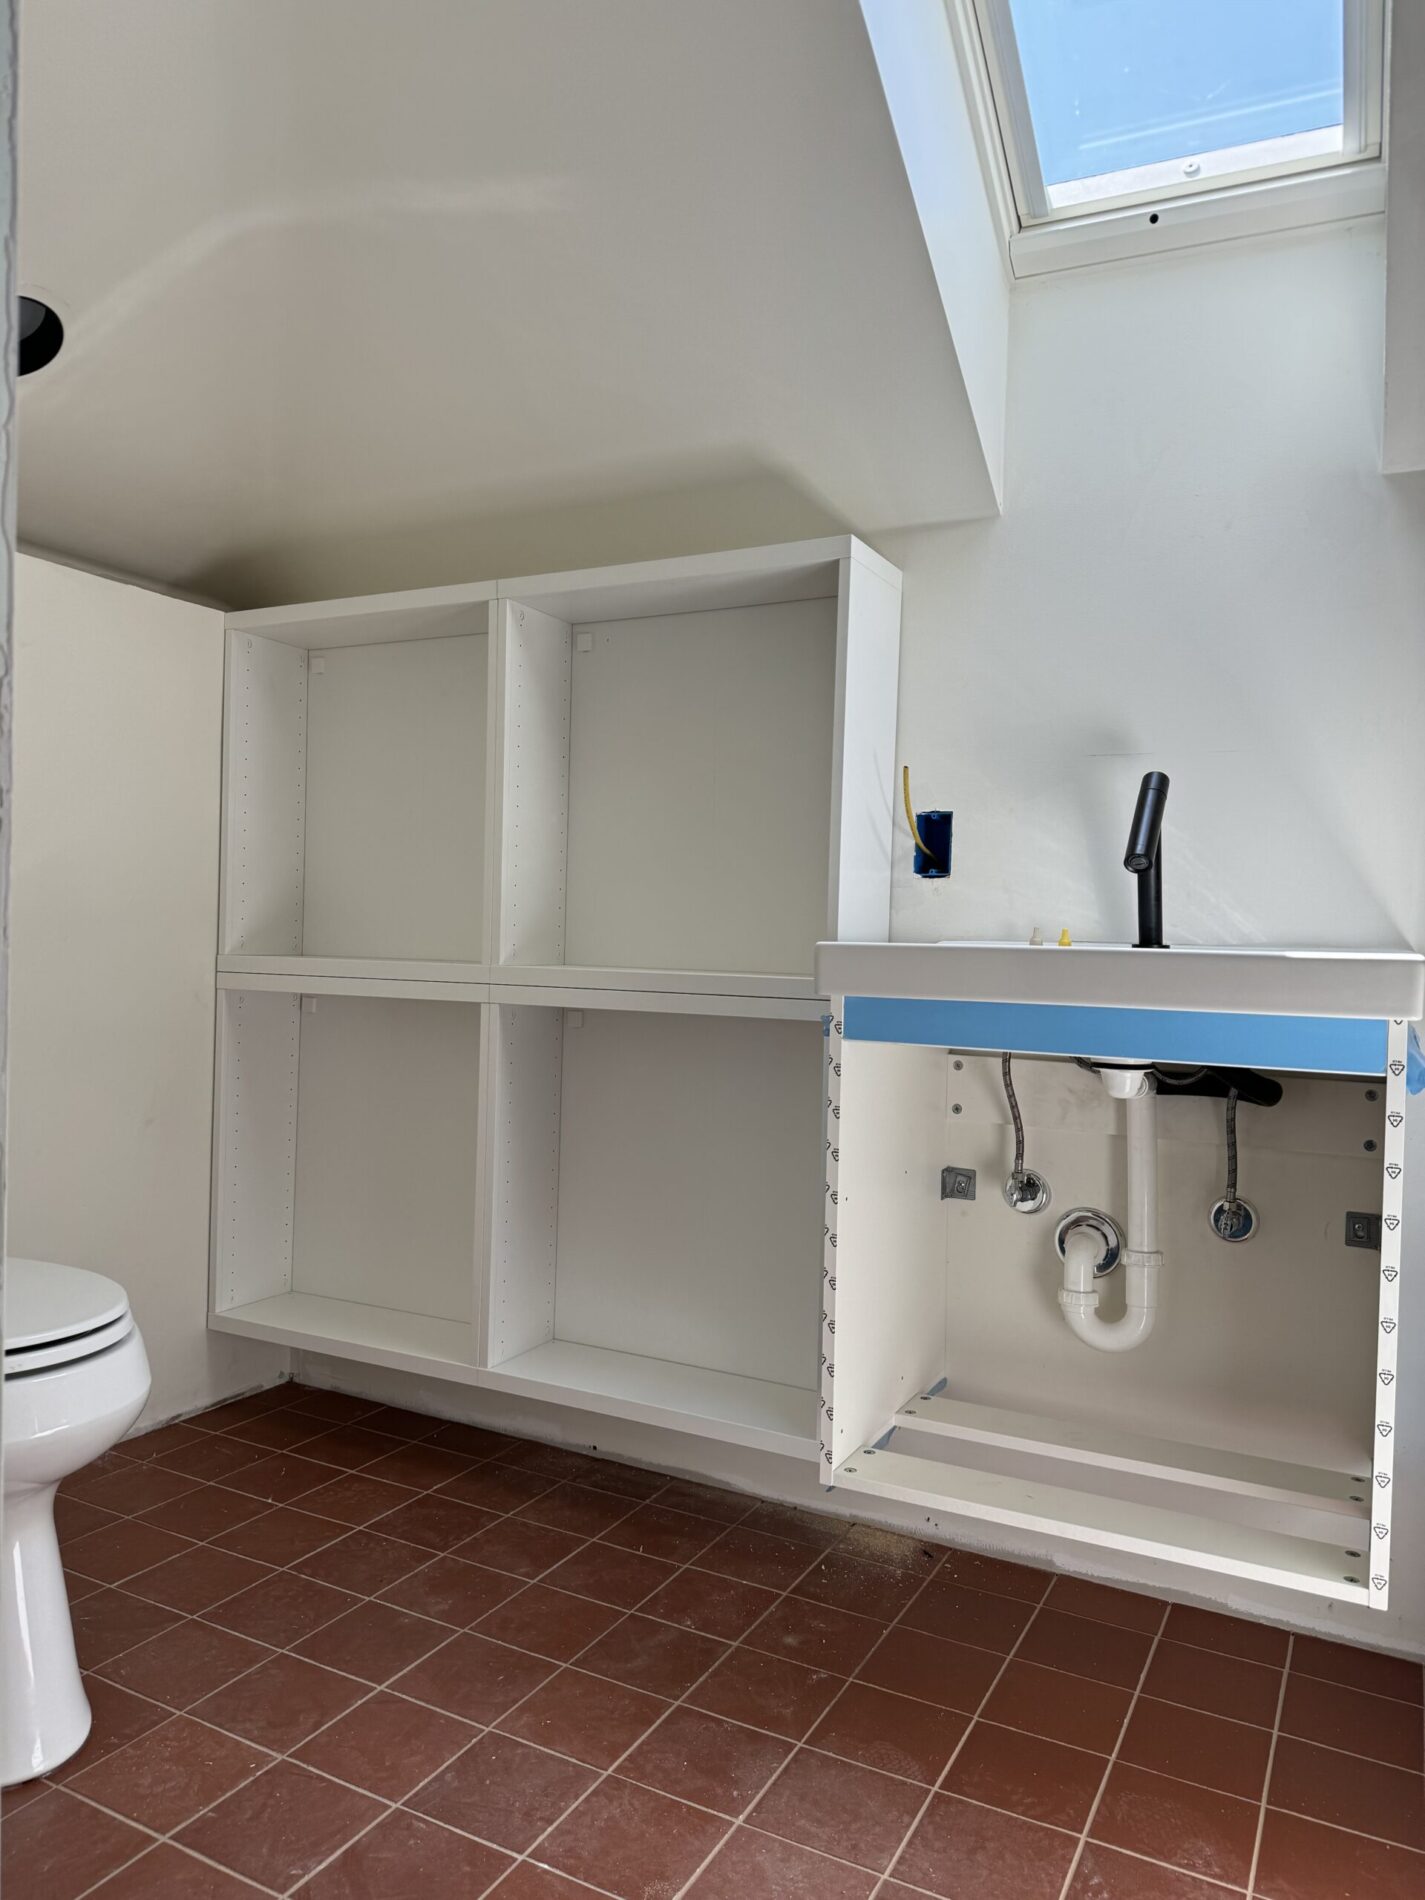
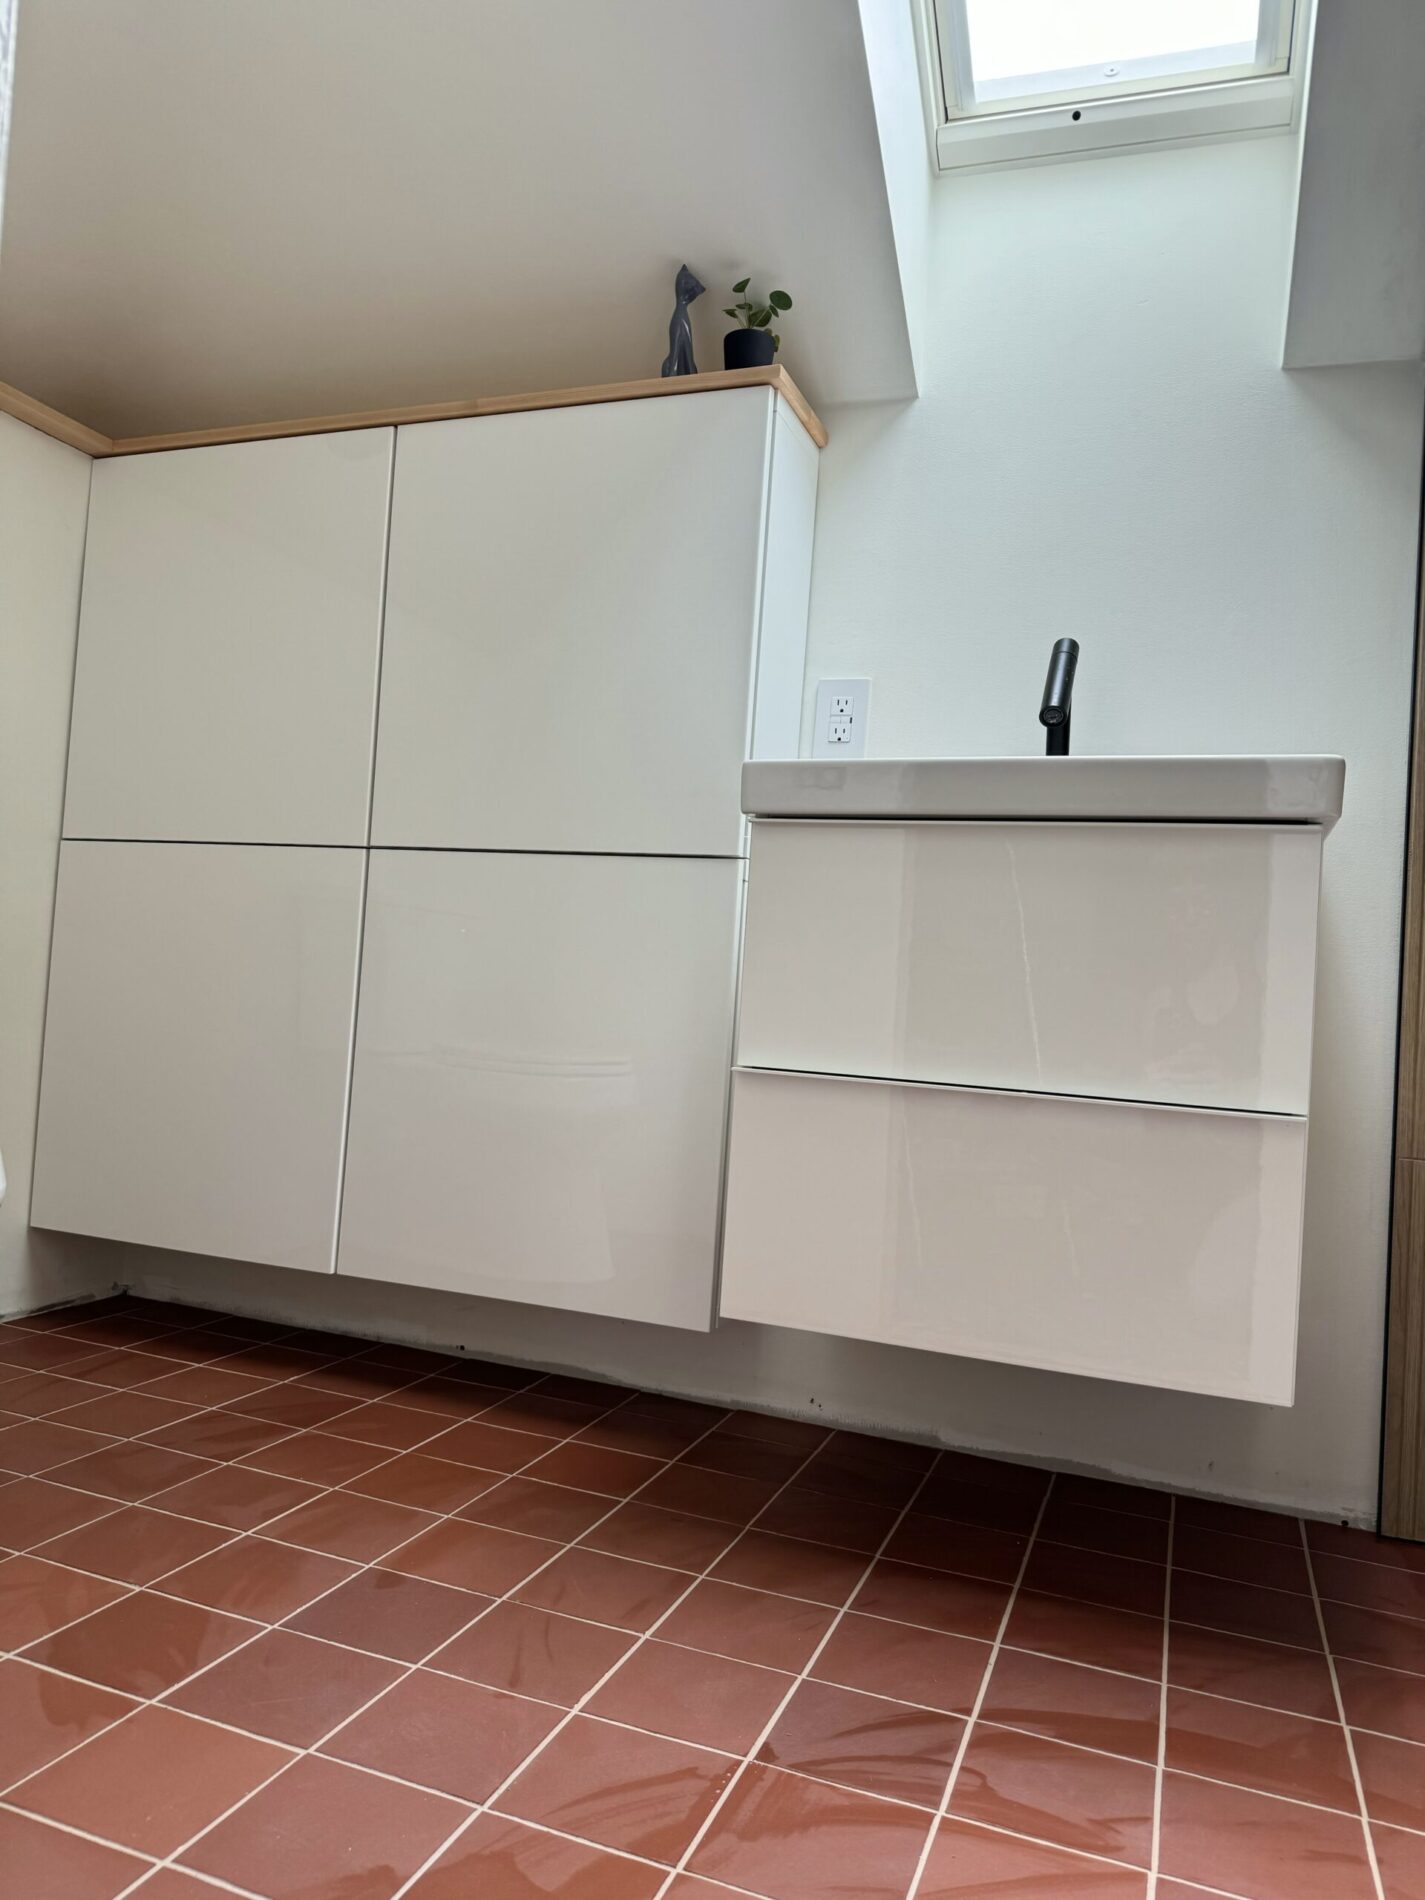
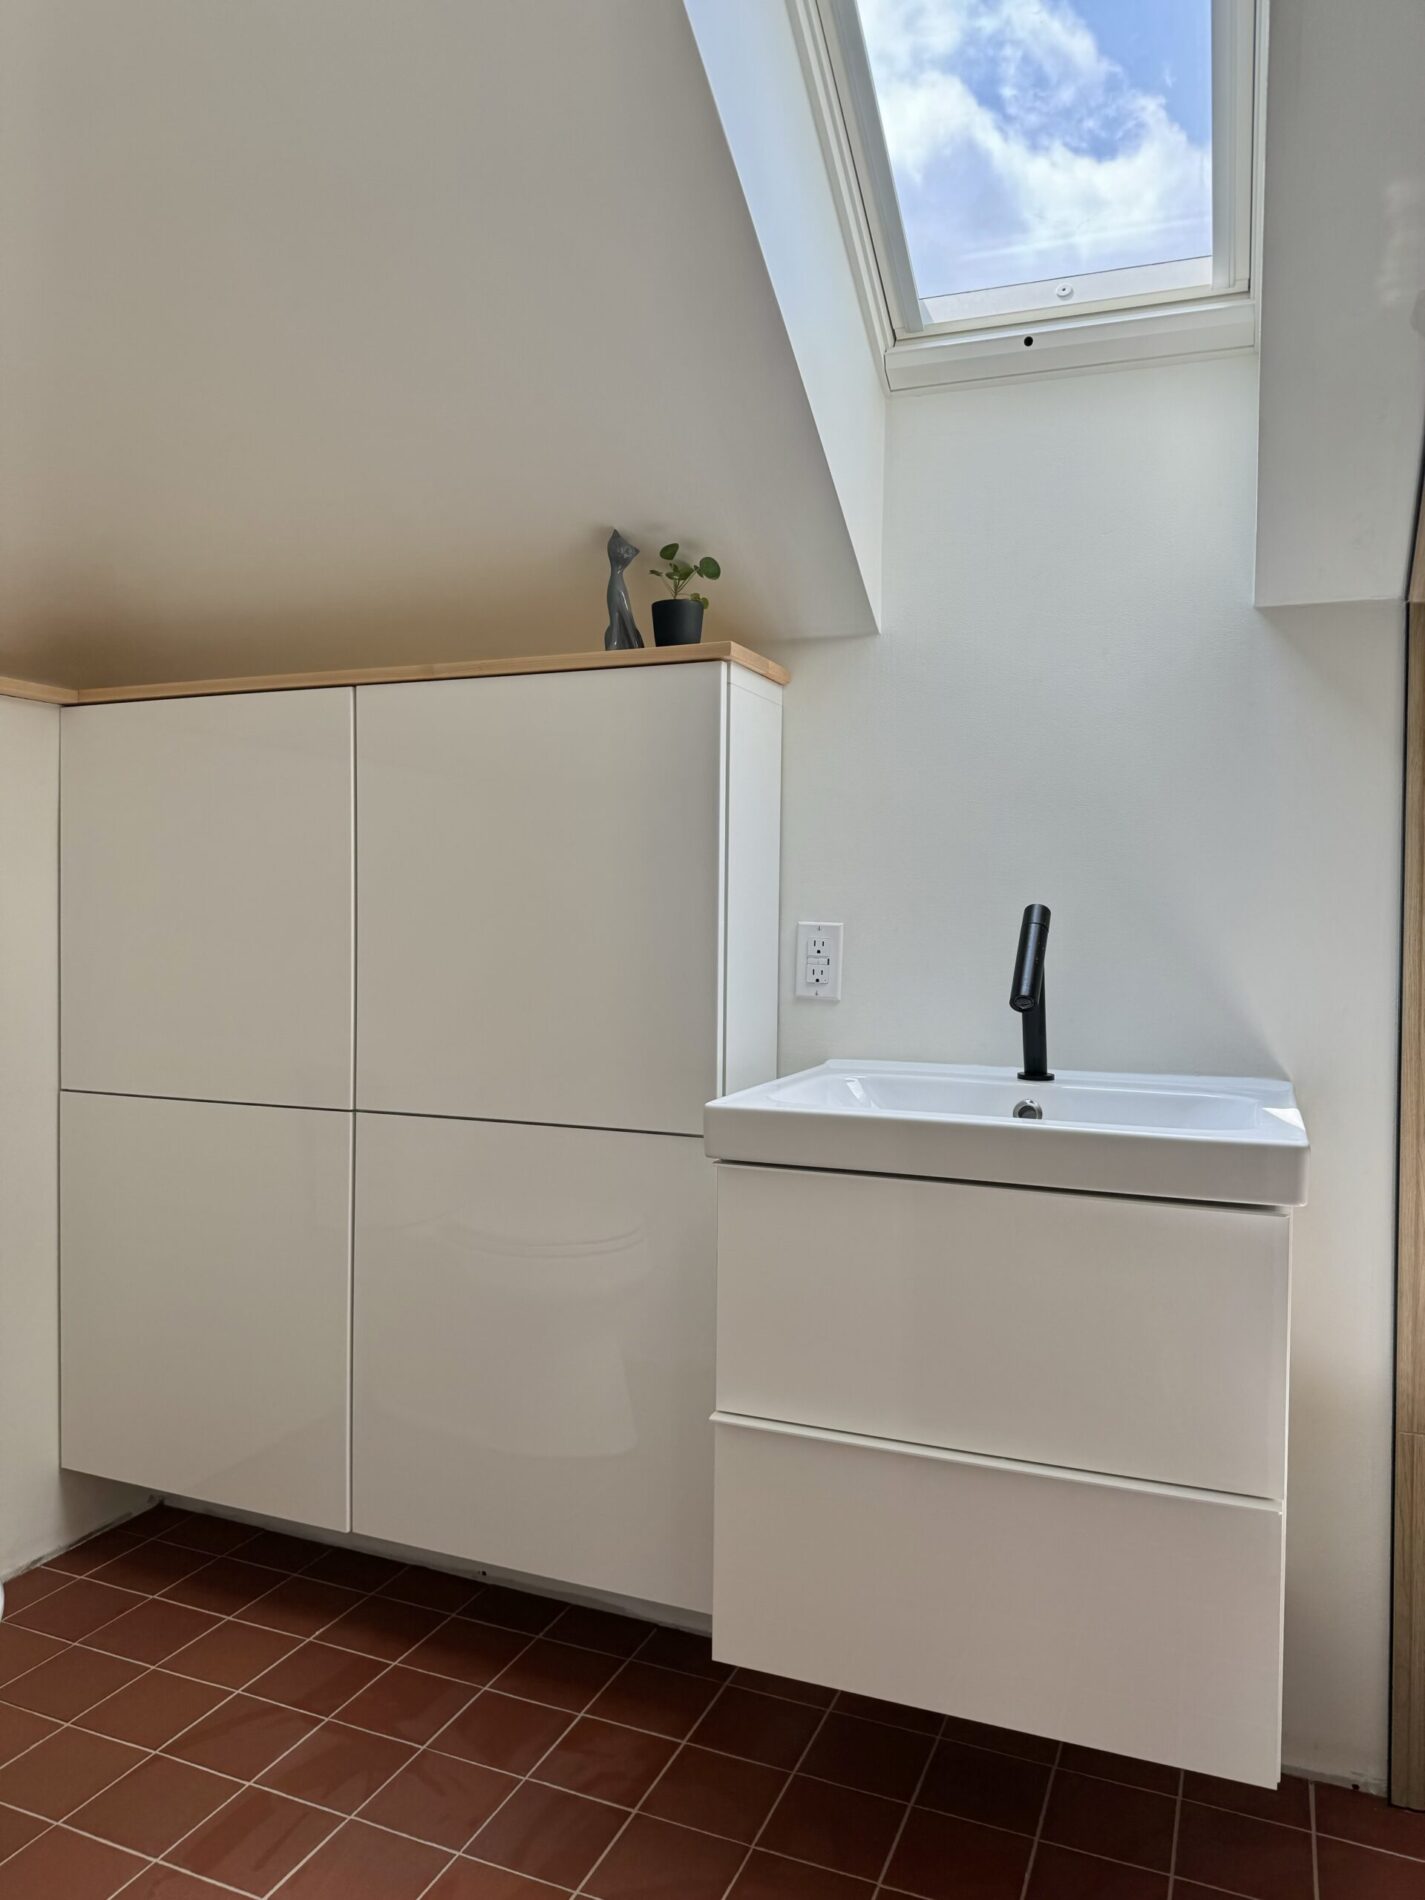
One of the major problems with this bathroom was the angled ceilings and the occasional noggin bumping. I knew we would need storage to make this bathroom function like a master bath, despite it’s tiny footprint and angles everywhere. My theory was, if I built storage on the sloped wall, it would prevent me and my husband from walking too far forward and hitting our heads. I decided that making the room smaller would in turn make it bigger! I know that’s some crazy logic, but you know what?! IT TOTALLY WORKED! I measured about a billion times and found that I could combine four Besta cabinets from IKEA, and create a storage wall.
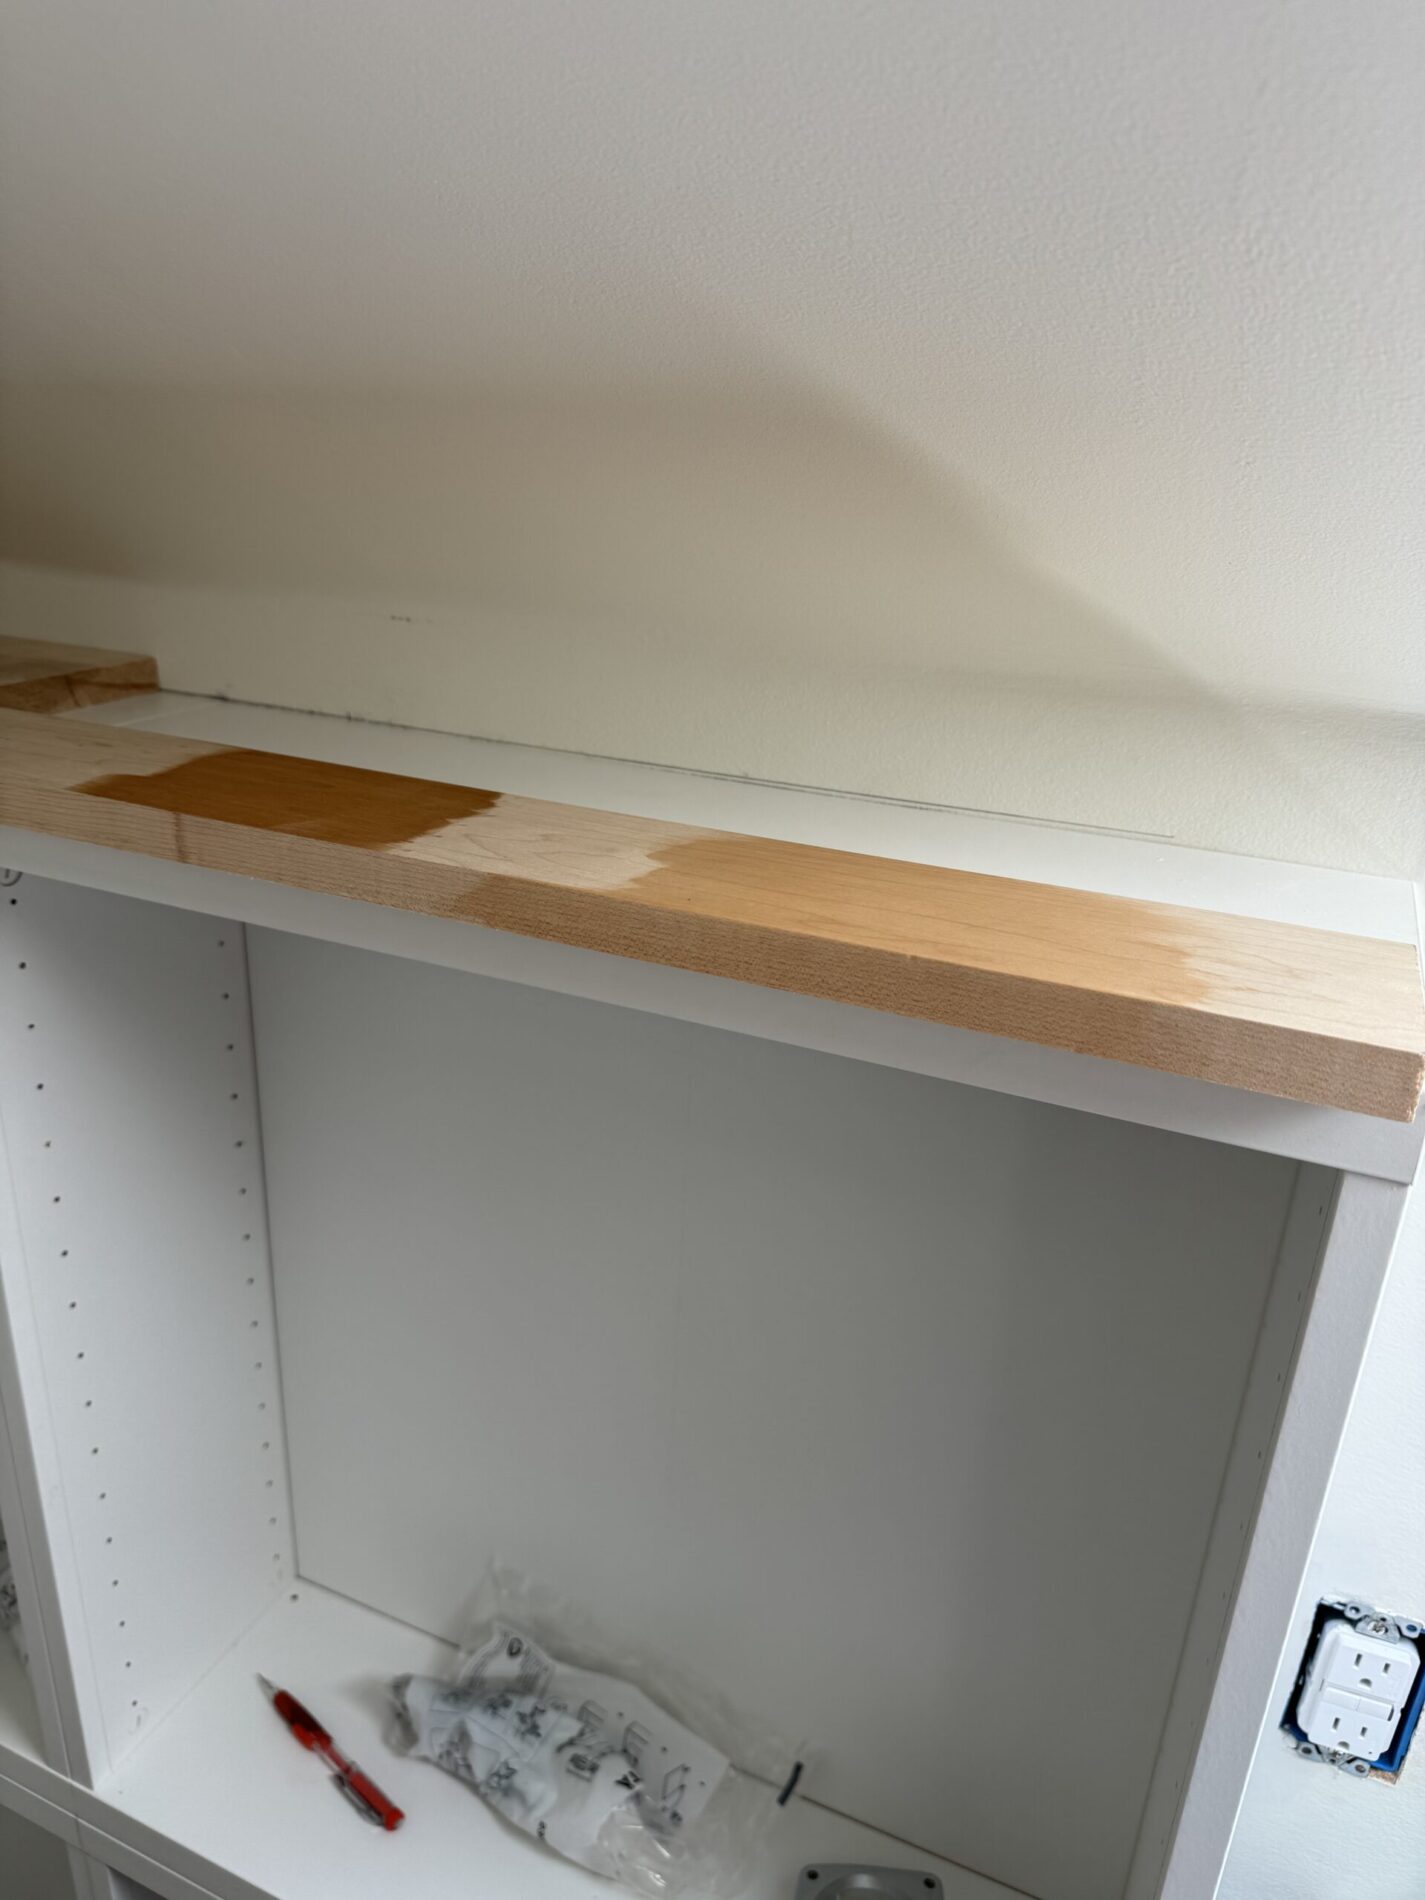
Next up on the finishing projects list was the wraparound shelf, for plants and some quirky knick-knacks. Finn and I constructed a 9″ deep shelf from four pieces of maple we picked out at Menards. We tried to match up the color and grain as best we could, knowing that there would ultimately be a seam. I tried a few different stains and landed on a gel stain in Golden Pecan from Varathane. Gel stains are weird, as the consistency and color of this one seemed like I was spreading ketchup on wood! But no drips and it went on easily and it was really pretty. I didn’t taste test it to see if it was indeed ketchup…
Time to fit the shelves again. You gotta be kiddin’ me… ANOTHER TRAPEZOID!!! Out came the cardboard template and it was micro adjusted to fit, then Finn cut the tapered edges, and lo and behold, it fit!
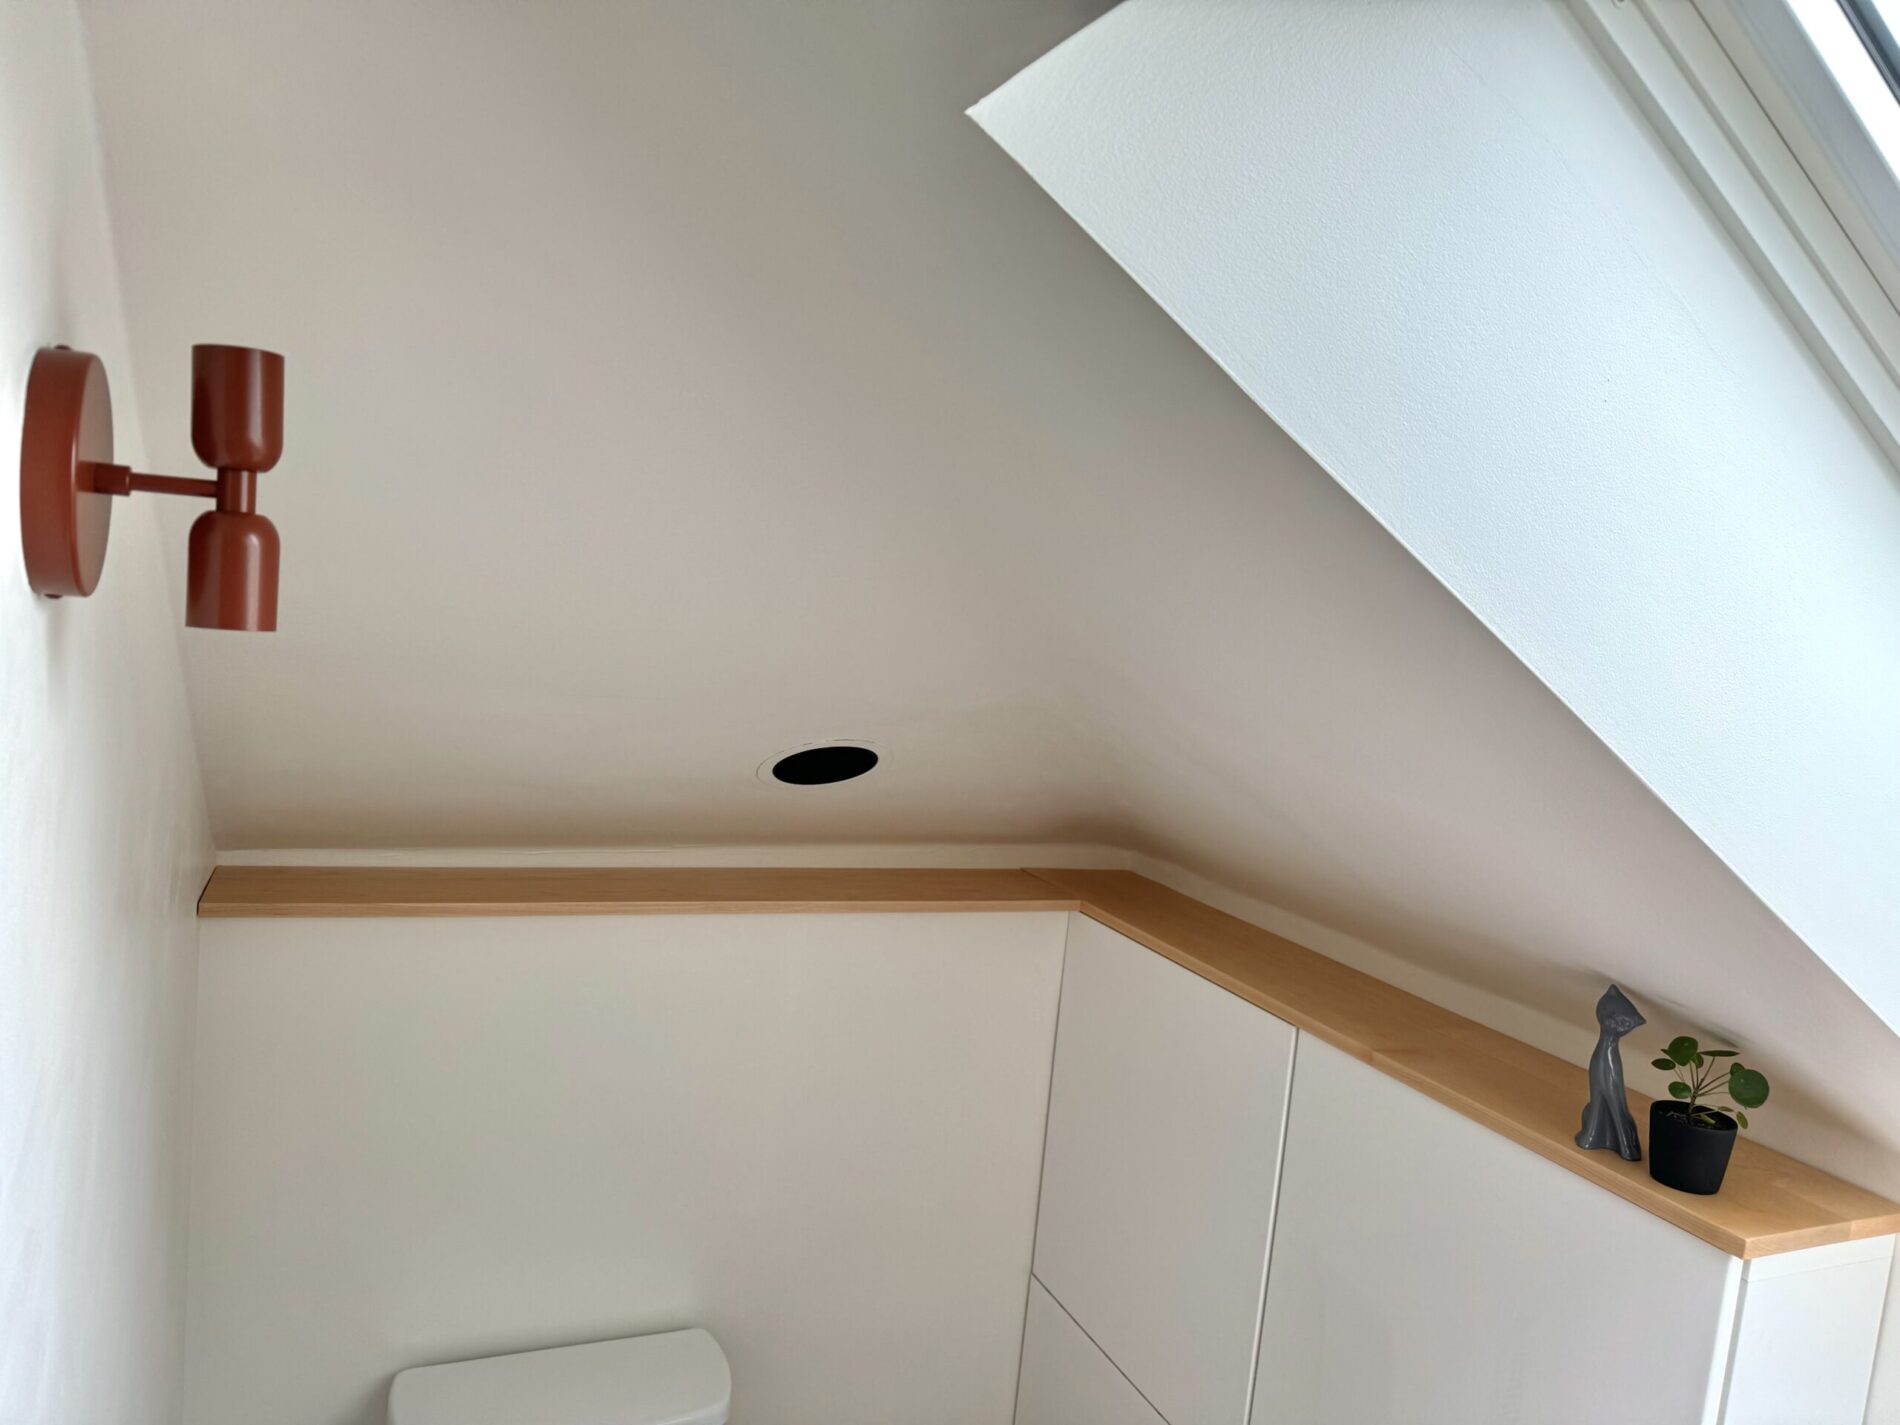
I’m on the hunt for fun stuff and small planters to fill up that shelf with personality, but my kitty figurine and little pilea is a tiny start. I’m actually relieved that I have time now to search for the perfect pieces, since the challenge is over.
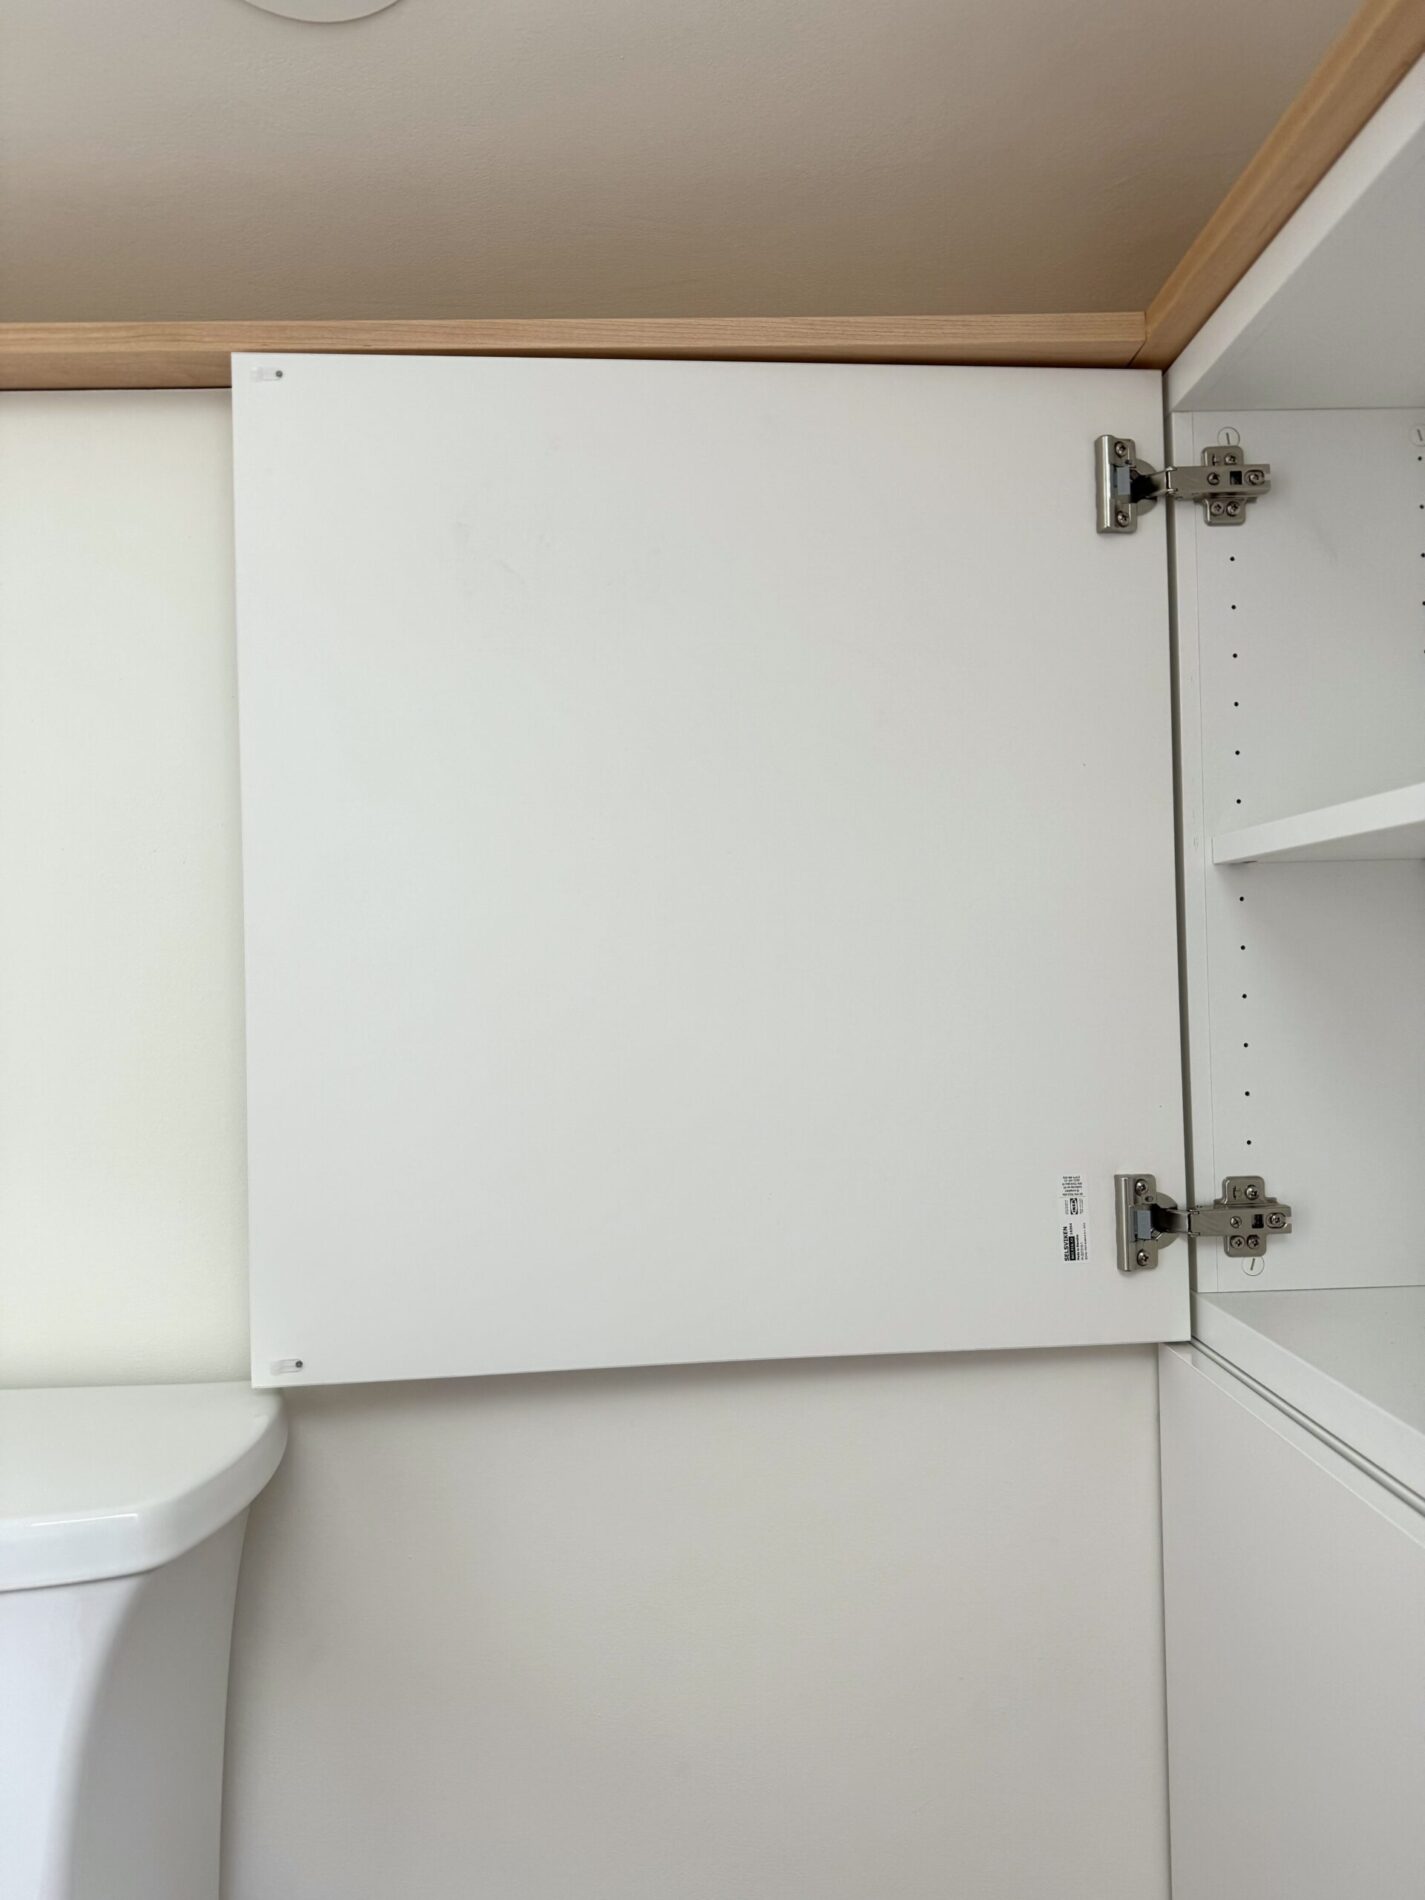
I was really excited about how the storage cabinets and the sink ended up looking. And look at the happy accident, where the top cabinet door JUST clears the top of the toilet! It’s the little things…
This is what 8 weeks of work looks like from a couple of DIYers who work other jobs during the week. I think we did a bang up job! It would have been really great to have the shower trim kit and faucet on (the last of the missing pieces just arrived TODAY, I kid you not). This challenge has shown me that you cannot control everything, and you have to roll with the punches.
I did not get to my fancy schmancy LED back lit mirror project that goes above the sink, nor the baseboard trim, or the bathroom hardware. And we will be waiting a bit for a custom angled shower door that wasn’t in the immediate budget. But I’ll post again when I am totally done, because the details make the difference! I’m thinking this weekend, I might just take a break… HAHA!
Thanks for coming along with me on my attic bathroom renovation journey! Thank you’s and HI-5’s all around to my helpers that kept me mostly sane and allowed me to get almost all the way to the finish line. And thanks to the One Room Challenge for the um… well, CHALLENGE! Check back for updates in the upcoming months!
-Michele aka Kiki


